

 Veselin Stoyanov13 min read
How to Automate WordPress Blog Posts from Planning to Publishing
Learn how to automate WordPress blog posts from topic planning and SEO writing to metadata, scheduling, and publishing with a repeatable workflow.

Publishing a consistent WordPress blog can help build organic visibility, but the work behind every post adds up quickly. You need to find a useful topic, connect it to a search intent, create an outline, write and edit the article, prepare images, add metadata, schedule the post, and review how it performs.
That process is manageable for a small number of articles. It becomes much harder when you want to publish regularly while also running a business.
The solution is not to remove human judgment from content marketing. It is to automate the repeatable parts of the workflow so you can spend more time on strategy, accuracy, and business priorities.
This guide explains how to automate WordPress blog posts from planning to publishing, including the key steps in a reliable WordPress blog automation system.
What WordPress blog automation should handle
A useful automation workflow can support the full content lifecycle:
- Finding and organizing content topics
- Mapping topics to keywords and search intent
- Creating article briefs and outlines
- Generating draft content
- Preparing titles, slugs, and meta descriptions
- Creating or assigning article images
- Sending content to WordPress
- Scheduling posts for future publication
- Tracking which articles need review or improvement
Automation should make these steps more consistent, not turn your blog into a stream of unreviewed pages. The best workflow combines automation for production tasks with human oversight for brand voice, factual accuracy, and final approval.
Step 1: Define your content goals and publishing rules
Before automating anything, decide what the system should produce and how it should behave.
Start by documenting:
- Your target audience
- The products, services, or problems you want to cover
- Your primary topic areas
- Your preferred publishing frequency
- Your tone and editorial standards
- Who reviews content before publication
- Whether articles should publish immediately or enter a review queue
These decisions become the operating rules for your blog automation process. Without them, automation may produce content that is technically complete but inconsistent with your business.
It is also useful to define content types. For example, you might publish educational guides, comparison articles, tutorials, and product-led explainers. Each type can use its own outline structure, call to action, and review checklist.
Step 2: Build a repeatable topic planning process
Topic planning is one of the highest-value areas to automate because it determines what your content engine produces over time.
Create a topic inventory based on customer questions, product categories, search demand, existing content gaps, and recurring industry problems. Then organize those ideas into topic clusters. A cluster usually includes one broad pillar topic supported by several narrower articles.
For example, a website focused on WordPress marketing might organize content into clusters such as:
- WordPress SEO fundamentals
- Content planning and keyword research
- Website performance
- Blog publishing workflows
- Conversion optimization
Each proposed article should have a clear purpose. Ask:
- What question does this article answer?
- Who is searching for it?
- What stage of the buying or research process does it support?
- Which existing article should it complement?
- What should the reader do after finding the answer?
Automation can help turn a topic list into structured briefs with a target keyword, secondary terms, search intent, suggested headings, and a recommended content angle. You should still review the topics before production to remove duplicates, weak ideas, and subjects outside your expertise.
Step 3: Create SEO-focused article briefs
A brief gives the writing process a clear destination. It also makes automation more predictable because each article follows the same basic inputs.
A practical article brief should include:
- Working title
- Primary keyword
- Secondary keywords and related concepts
- Search intent
- Target reader
- Main question the article must answer
- Recommended headings
- Important points to cover
- Internal content relationships
- Suggested call to action
- Image requirements
- Review notes or restrictions
For a tutorial about automating WordPress blog posts, the brief might specify that the article should explain topic planning, content generation, metadata, scheduling, publishing, and quality control. This prevents the draft from focusing only on writing while ignoring the operational steps that make automation useful.
Keep briefs specific enough to guide the article but flexible enough to allow original explanations. A brief should not force the writer or content system to repeat the same phrasing in every post.
Step 4: Automate the first draft without skipping editorial controls
Once a brief is approved, the next stage is generating the article draft. Automation can help produce a structured first version that includes the introduction, main sections, examples, conclusion, metadata, and frequently asked questions.
The draft should be evaluated against the search intent rather than judged only by length or keyword frequency. A useful article should answer the reader’s question early, explain the process in a logical order, and provide enough practical detail to take action.
Use a consistent content structure:
- Answer the main question in the introduction
- Explain the relevant concepts
- Break the process into numbered steps
- Include examples, checklists, or decision points
- Address common mistakes
- End with a concise conclusion and next step
Avoid treating generated content as publication-ready by default. Review the draft for unsupported claims, vague advice, repeated ideas, awkward transitions, and statements that require specialist validation.
A good editorial workflow can separate articles into three states:
- Draft: Content is being generated or edited
- Review: A person checks quality, accuracy, and brand fit
- Approved: The article can be scheduled or published
This simple status system helps prevent unfinished content from reaching your WordPress site.
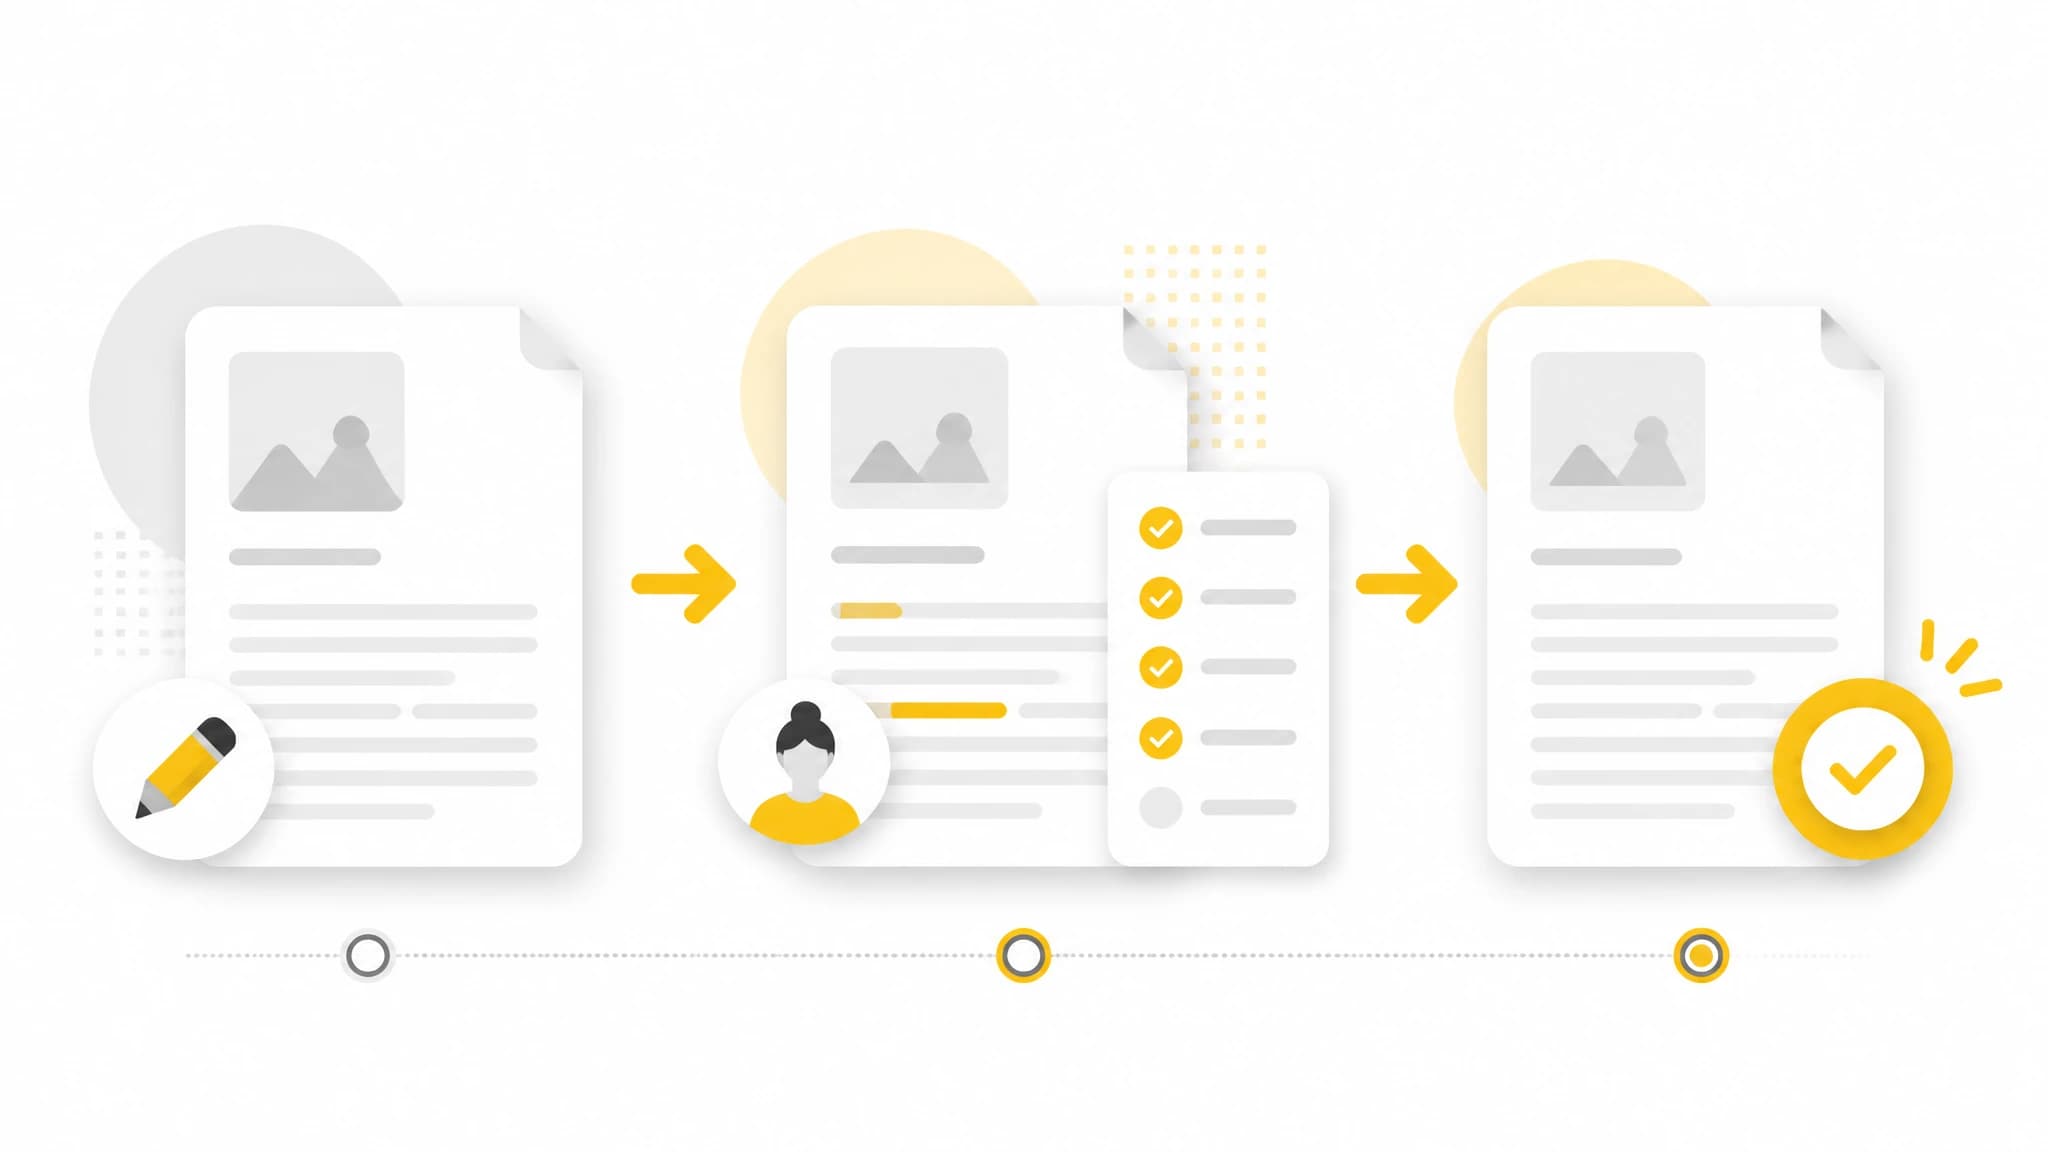
Automation works best when generated drafts pass through clear editorial review stages.
Step 5: Automate WordPress SEO metadata
Every article needs more than body copy. The title, URL slug, meta description, image details, and other page fields influence how the content is presented in search results and on your website.
For each post, prepare:
- An SEO title that clearly describes the benefit or topic
- A short, readable URL slug
- A meta description that summarizes the page and encourages a relevant click
- A featured image with descriptive alternative text
- A clear WordPress category
- Relevant tags, used consistently
- An appropriate author and publication status
Include the primary keyword naturally in the title and, where appropriate, the slug and meta description. Do not repeat it unnaturally. Search optimization works best when metadata accurately represents the page rather than trying to manipulate clicks with exaggerated wording.
The slug should be concise and stable. For this article, a slug such as automate-wordpress-blog-posts is more useful than a long URL containing every variation of the target keyword.
Metadata can be generated alongside the article, but it should be reviewed as part of the same editorial process. A description that promises a complete tutorial should match what the article actually covers.
Step 6: Prepare images and media automatically
Images improve readability and give posts a stronger presence on blog indexes, social previews, and search interfaces. They can also help readers understand workflows that are difficult to explain with text alone.
For an automated WordPress publishing process, define image requirements in the article brief. Specify whether the article needs:
- A cover or featured image
- Screenshots of a workflow
- Diagrams or process illustrations
- Section images
- Alt text and captions
Images should support the content, not simply fill space. For a workflow article, an editorial illustration showing the path from topic planning to WordPress publishing may help readers understand the overall system.
Before publishing, verify that images are correctly sized, compressed, named descriptively, and assigned accurate alt text. Automation can generate and attach these assets, but accessibility and visual relevance still deserve a final check.
Step 7: Connect your content workflow to WordPress
The technical connection between your content system and WordPress is what turns content planning into WordPress blog automation.
A useful integration should be able to send the relevant post data to WordPress, including the title, article body, slug, metadata, images, categories, tags, status, and scheduled publication date where supported by the workflow.
There are several common ways to connect a content workflow to a WordPress website:
- A native WordPress integration
- The WordPress REST API
- A webhook-based workflow
- A custom middleware service
- Manual import after automated preparation
For most website owners, a native integration is easier to manage because the publishing workflow is designed around the target platform. It can reduce the need to copy content between tools and make the publishing process more repeatable.
RankWorker's WordPress integration uses the official RankWorker plugin to move generated SEO articles into WordPress without manual copying. Choose push mode for direct, signed delivery when your site is publicly reachable, or pull mode when the site is private or restricts inbound access. Connection status, delivery settings, secrets, API keys, and diagnostics can be managed per project in RankWorker.

A WordPress integration can connect content preparation with scheduling and publication.
Step 8: Choose between automatic publishing and review queues
Not every website should publish every generated article immediately. Your publishing mode should reflect the risk and importance of the content.
Use a review queue when an article includes:
- Medical, legal, financial, or safety-related information
- Product specifications that may change
- Claims about your business or competitors
- Technical instructions that could cause problems if followed incorrectly
- A strong connection to your brand reputation
Automatic scheduling can be appropriate for lower-risk educational content that follows an established editorial template and has already passed your quality checks.
A practical approach is to automate production while keeping approval manual. The system prepares the article and sends it to WordPress as a draft. An editor then checks the content and changes the status to scheduled or published.
As your process becomes more reliable, you can identify content types that are safe to schedule automatically. This gradual approach is usually better than switching the entire blog to unattended publishing at once.
Step 9: Schedule a consistent publishing calendar
Scheduling helps your blog maintain a predictable publishing rhythm. It also lets you prepare content in batches, which is more efficient than creating one article from start to finish every time you have a free afternoon.
Create a calendar that records:
- Planned publication date
- Topic cluster
- Primary keyword
- Content format
- Draft status
- Review owner
- WordPress status
- Refresh date
Avoid publishing several articles on nearly identical topics in a short period. Space related posts strategically so each one has time to be reviewed, indexed, and connected to the wider topic cluster.
A calendar also makes it easier to balance content types. For example, you might alternate between beginner guides, practical tutorials, and deeper strategic articles rather than publishing only one format.
Step 10: Add quality checks before and after publishing
Automation is only valuable when the output remains useful. Build quality checks into the workflow instead of treating them as an optional final step.
Before publication, verify:
- The article answers the intended search query
- The introduction provides a clear answer or direction
- Headings are logical and scannable
- Claims are accurate and supported by the available information
- The primary keyword is used naturally
- The title and meta description match the page
- Links work correctly
- Images have useful alt text
- The formatting works correctly in WordPress
- The call to action is relevant and not excessive
After publication, monitor whether the article needs improvement. Look for signs such as impressions without clicks, clicks without conversions, declining rankings, unanswered comments, or information that has become outdated.
Refreshing existing content is an important part of blog automation. A system that only creates new posts can leave older articles to decay. Add review dates to your calendar and update pages when the subject, recommendations, or business information changes.
Common mistakes in WordPress blog automation
Automating without a content strategy
A high publishing volume does not compensate for unclear topics or weak search intent. Start with a focused set of topic clusters and define what each article is meant to accomplish.
Publishing unreviewed drafts
Generated content can contain errors, unsupported statements, or a tone that does not fit your business. Use review states and approval rules before enabling automatic publication.
Focusing only on keywords
Keywords help define the topic, but readers need a complete and well-organized answer. Prioritize clarity, usefulness, examples, and accurate coverage of the problem.
Ignoring older content
New posts are only one part of SEO growth. Schedule content reviews so important articles remain current and continue supporting your topic clusters.
Building a fragile workflow
If your process depends on many manual copy-and-paste steps, it is difficult to maintain. Document the workflow, use consistent fields, and test what happens when an article fails, is delayed, or needs approval.
A practical automation workflow to start with
If you are new to blog automation, begin with a controlled workflow:
- Create a focused list of topics.
- Approve one topic and generate a structured brief.
- Produce the draft, metadata, and image assets.
- Send the article to WordPress as a draft.
- Complete a human editorial review.
- Schedule the approved post.
- Track its performance and add a refresh date.
- Expand automation only after the process works reliably.
This approach gives you the efficiency benefits of automation without giving up control over your site’s quality or direction.
Conclusion
To automate WordPress blog posts successfully, think beyond automated writing. A complete system connects topic planning, briefs, content generation, metadata, images, review states, scheduling, publishing, and ongoing maintenance.
The most reliable workflows automate repetitive production tasks while keeping strategic and quality decisions visible. With clear rules and a controlled approval process, WordPress blog automation can help you publish more consistently without turning your website into a collection of disconnected or unreviewed articles.