

 Veselin Stoyanov12 min read
How to Schedule Posts in WordPress (Bulk & Automated)
Learn how to schedule posts in WordPress individually, in bulk, or with automation tools while keeping your publishing workflow organized.
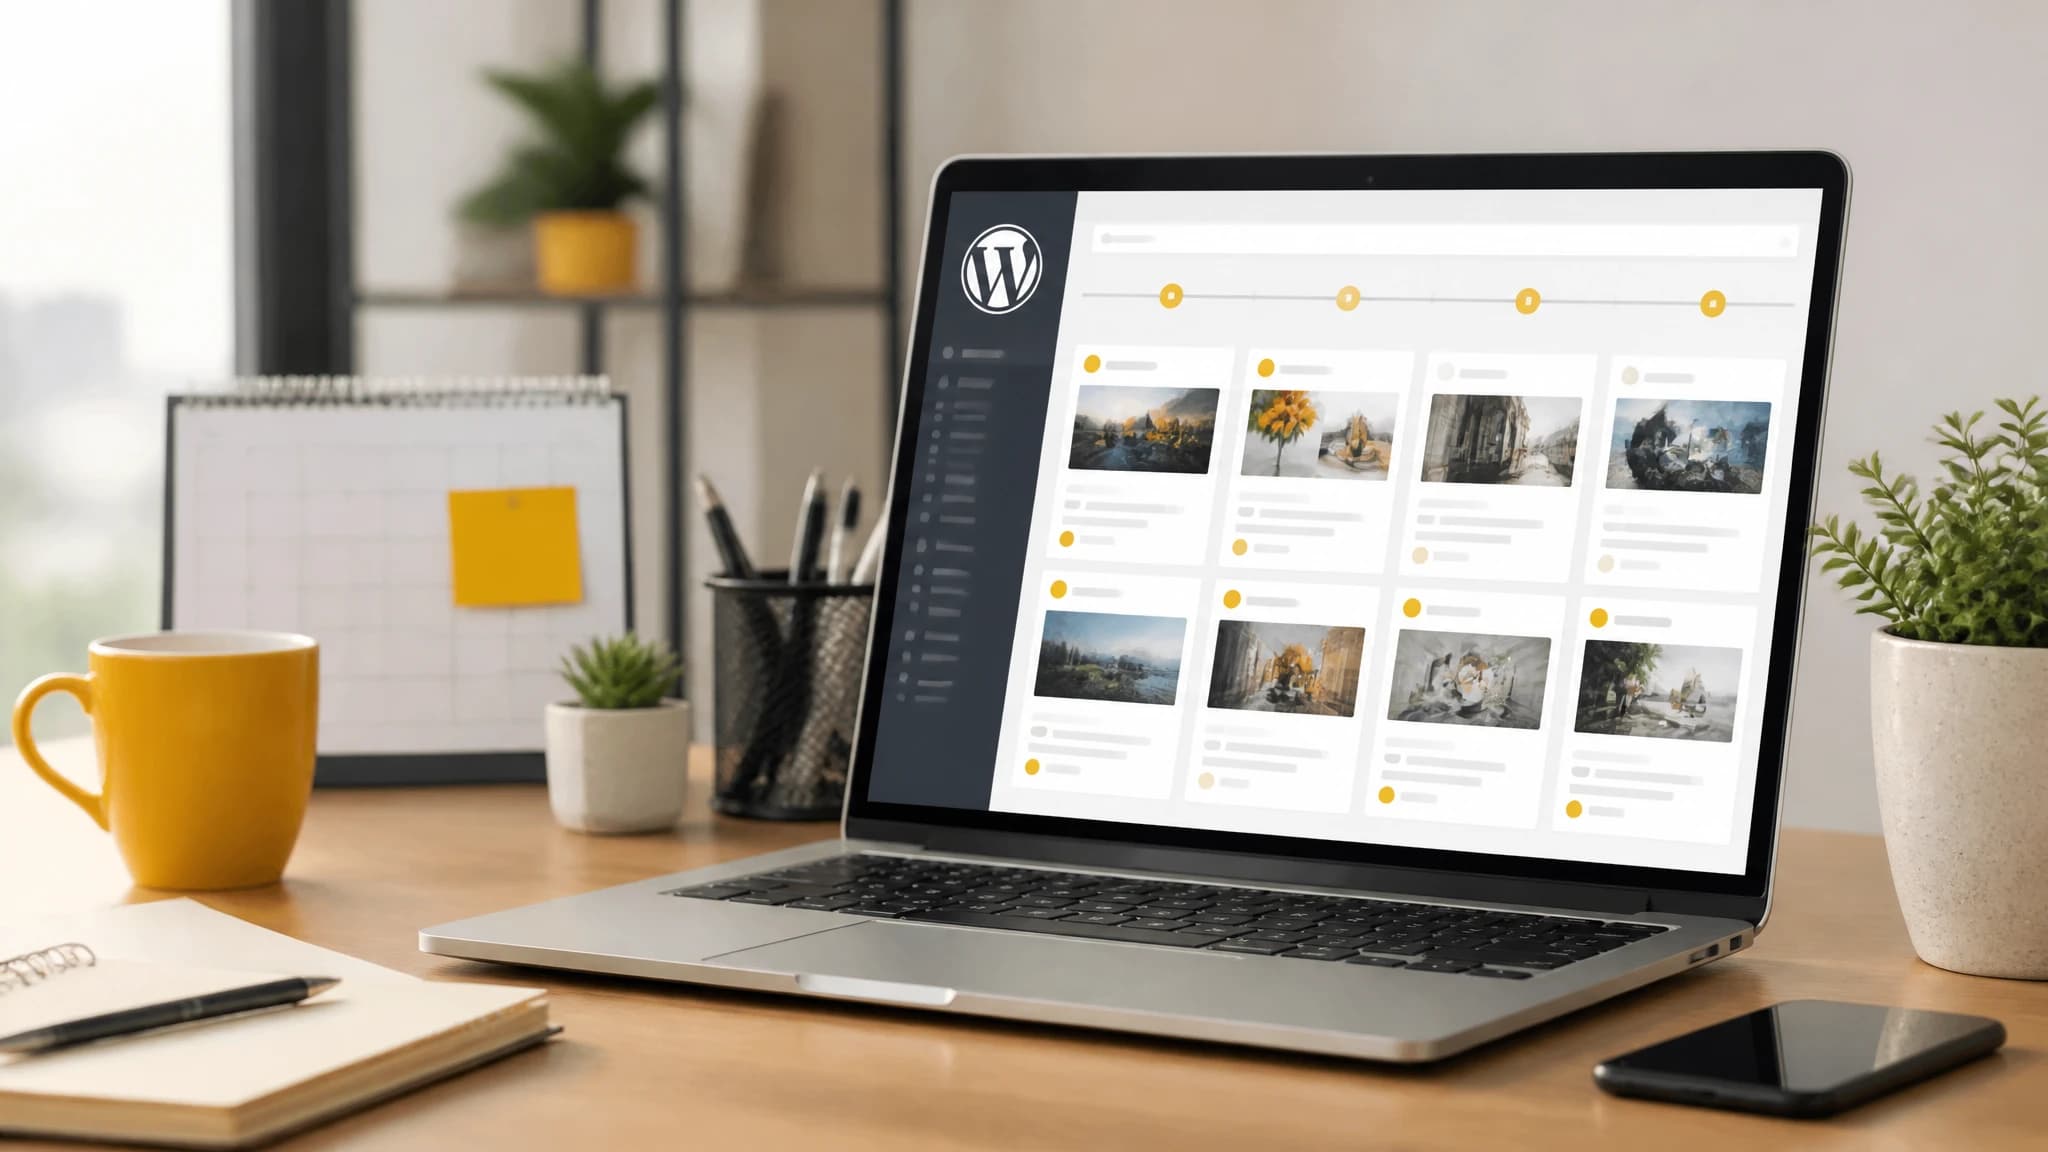
Publishing blog posts consistently is easier when you separate content creation from publication. Instead of writing and uploading an article whenever you have time, you can prepare content in advance and let WordPress publish it on a defined schedule.
In this guide, you’ll learn how to schedule posts in WordPress using the native editor, how to manage multiple scheduled posts, and how automation tools can support a repeatable SEO publishing workflow.
Why schedule blog posts in WordPress?
Scheduling helps turn content publishing into a process rather than a last-minute task. It can be useful when you want to:
- Publish at a consistent time each week
- Prepare content in batches
- Keep publishing while you are away
- Coordinate posts with product launches, newsletters, or campaigns
- Give editors time to review drafts before publication
- Maintain a predictable content calendar
For SEO, the main benefit is operational consistency. Scheduling does not guarantee rankings, but it can make it easier to maintain the steady publishing process required by a broader content strategy.
The best workflow usually combines three steps: plan the topics, prepare and review the articles, then schedule approved posts for publication.
How to schedule a post in WordPress
WordPress includes post scheduling in the standard post editor, so you do not need a plugin for basic scheduling.
1. Create or open a post
From your WordPress dashboard, go to Posts → Add New to create an article, or open an existing draft from Posts → All Posts.
Before scheduling, complete the important editorial details:
- Add a clear, search-focused title
- Write and format the article
- Choose the appropriate category
- Add relevant tags if your site uses them
- Set a featured image when appropriate
- Review the permalink
- Check the SEO title and meta description if your SEO plugin provides those fields
Scheduling should be the final step in the editorial process, not a substitute for review.
2. Find the publish settings
In the post editor, locate the publishing or status settings. In the block editor, this is generally found in the settings panel or near the Publish controls.
Look for the option that controls when the post will be published. It may be labeled Publish immediately, Publish, or use a calendar/date control depending on your WordPress version and editor configuration.
3. Choose a future date and time
Select a date and time in the future. Then confirm that the correct time zone is configured for your WordPress website under Settings → General.
This matters because WordPress schedules posts according to the site’s configured time zone, which may differ from the time zone on your computer. If the site is set to UTC while your team works in another region, a post may appear earlier or later than expected.
4. Confirm the schedule
After selecting the future date and time, click Schedule. WordPress will save the article as a scheduled post instead of publishing it immediately.
You can verify the result by returning to Posts → All Posts and filtering or sorting by status. The post should show as scheduled with its planned publication date.
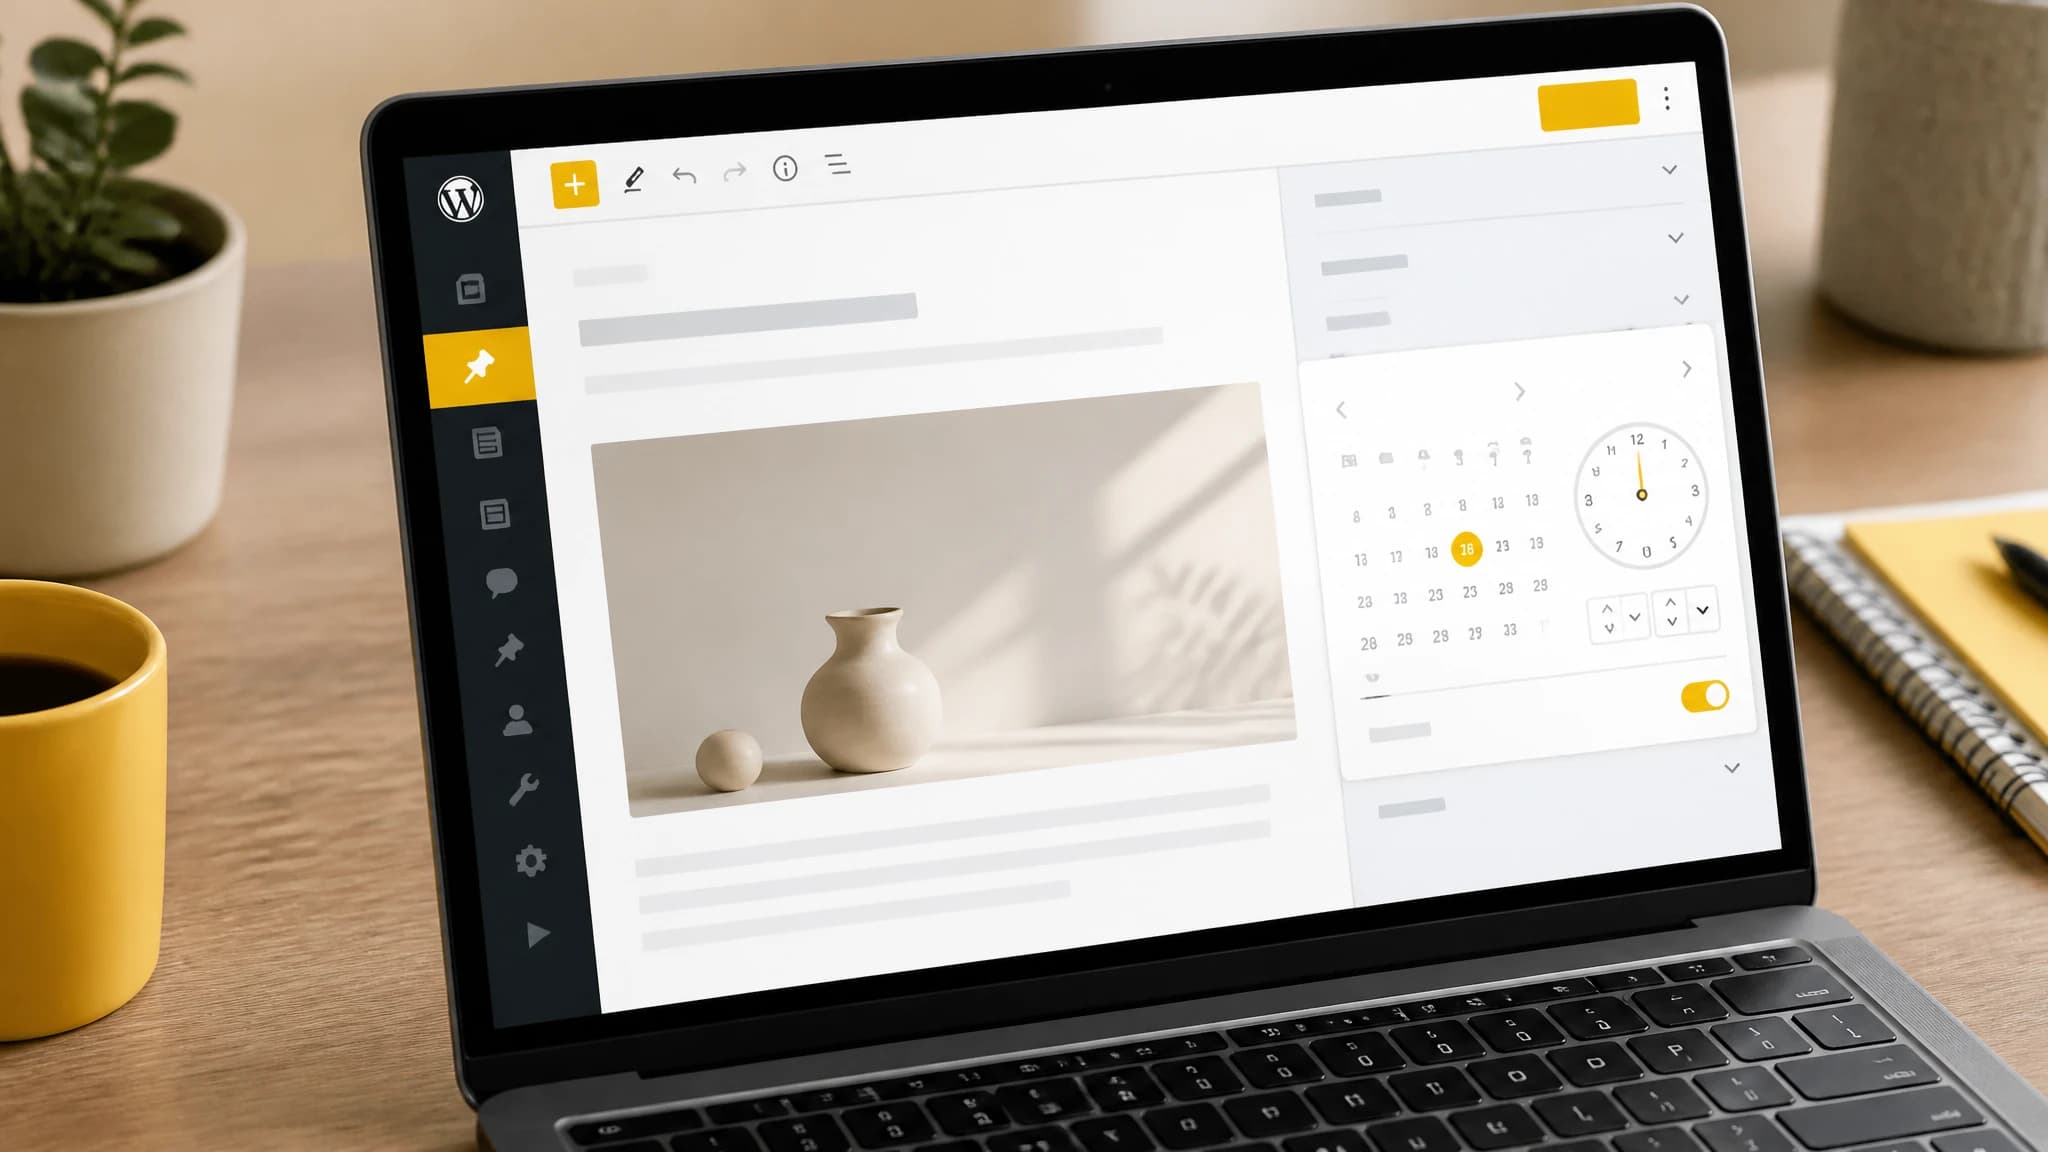
Use WordPress’s native scheduling controls to choose a future date and time for a post.
How to check and edit scheduled posts
Scheduled posts can be edited before their publication time. This is useful when you want to update a headline, fix a link, add an image, or change the publication date.
Go to Posts → All Posts and open the scheduled article. Make the required changes, then save the post again. To change the publication time, open the scheduling controls and select a new future date and time.
You can also change a scheduled post back to a draft if it needs more work. Use this when an article is not ready, the campaign has changed, or the content requires an additional review.
A simple review checklist can prevent common publishing mistakes:
- Is the article assigned to the correct author?
- Are the title and URL aligned with the search intent?
- Do internal and external links work?
- Is the featured image present and properly sized?
- Is the category correct?
- Are the SEO title and meta description complete?
- Does the publication date match the editorial calendar?
- Has the article been checked on mobile?
How to schedule multiple posts in WordPress
WordPress’s native editor is convenient for scheduling individual posts, but bulk scheduling is less efficient. If you already have several drafts, you typically need to open each post and assign its publication date separately.
For a small batch, this process is manageable:
- Prepare and review all drafts.
- Create a publication calendar with dates and times.
- Open each draft in the editor.
- Assign its scheduled date and time.
- Confirm the status after saving.
- Review the scheduled-post list for conflicts or gaps.

A visual editorial calendar makes it easier to manage a queue of scheduled WordPress posts.
The important distinction is between bulk editing and bulk scheduling. Some WordPress tools make it easier to change categories, authors, or other fields for many posts, but not every tool supports assigning different publication dates to a batch. Check the specific plugin’s documentation before building your workflow around that feature.
If your goal is simply to schedule a content queue, a calendar or editorial plugin may provide a more visual way to manage upcoming posts. These tools can help you see publishing gaps, move posts to different dates, and coordinate responsibilities among writers and editors.
Using WordPress scheduling and automation plugins
Plugins can extend WordPress scheduling beyond the native editor. Depending on the tool, you may be able to manage an editorial calendar, reorganize scheduled content, assign workflow statuses, or coordinate review steps.
When evaluating a scheduling plugin, consider the following:
Editorial calendar support
A calendar view makes it easier to see whether your publishing schedule is balanced. It can reveal weeks with too many posts, long gaps, or topics that are clustered too closely together.
Workflow and approval controls
If multiple people contribute to your site, look for statuses such as draft, review, approved, and scheduled. A workflow helps prevent unfinished or unreviewed content from being published accidentally.
Compatibility with your WordPress setup
Check whether the plugin works with your WordPress version, editor, theme, caching setup, and other publishing tools. Conflicts can affect scheduling, post status, metadata, or media uploads.
Time-zone handling
A scheduling tool should make the publication time clear and consistent with your WordPress site settings. If different systems use different time zones, document the standard used by your team.
Reliability and maintenance
Choose tools that are actively maintained and compatible with your operating process. A scheduling plugin becomes part of your publishing infrastructure, so updates, support, and backup procedures matter.
Plugins are most useful when content already exists and the main problem is organizing publication. They do not automatically solve topic selection, keyword research, article quality, or content planning.
How to automate WordPress post scheduling
For higher-volume publishing, the scheduling problem often begins before WordPress. If every article must be researched, written, formatted, uploaded, reviewed, and scheduled manually, the publishing calendar can quickly become difficult to maintain.
A more scalable workflow separates content operations into stages:
- Keyword targeting: Decide which search terms and topics support your business goals.
- Content planning: Build a queue of article ideas and map them to your publishing calendar.
- Article production: Create drafts using your chosen writing process.
- Quality review: Check accuracy, originality, search intent, links, formatting, and brand fit.
- Scheduling: Assign dates and times to approved articles.
- Publishing: Deliver the content to WordPress and verify the live result.
- Measurement: Review performance and use the findings to improve future content.
Automation can reduce repetitive work between these stages, but it should not remove editorial controls. The more automated the process becomes, the more important it is to define what must be reviewed before publication.
For example, you might automatically prepare and send articles to WordPress as drafts, then require a human approval before they go live. Alternatively, fully approved content can be sent with a future publication date when your quality checks are already built into the production process.
Scheduling WordPress posts with RankWorker
If your goal is to manage a repeatable SEO content workflow rather than only set dates on existing drafts, RankWorker’s WordPress integration can connect content delivery with the WordPress site you already use.
According to RankWorker’s WordPress integration documentation, the official plugin supports two article-delivery modes:
- Push mode: RankWorker sends signed article events directly to the plugin when the WordPress site is publicly reachable.
- Pull mode: The WordPress plugin securely fetches new articles when the site is private or cannot accept inbound requests.
The setup involves installing the official RankWorker plugin, choosing push or pull mode, and completing the connection in the RankWorker project. The integration page also describes project-scoped access for pull mode and dashboard controls for connection status, delivery settings, secrets, API keys, and diagnostics. (rankworker.com)
This approach is useful when you want to coordinate content planning and WordPress publishing in one repeatable process. It can reduce copying between systems while leaving WordPress as the destination for your website content.
The right delivery mode depends on your setup. Push mode may fit a publicly reachable site that can accept inbound delivery. Pull mode may be more appropriate when access is restricted. Review your hosting and security requirements before choosing.
Best practices for a reliable WordPress publishing calendar
Publish on a realistic cadence
A schedule should match your ability to produce and review useful content. A smaller, sustainable cadence is usually easier to maintain than an ambitious calendar that repeatedly slips.
Leave room for review
Do not schedule every post immediately after production. Build in enough time for fact-checking, editing, link review, and stakeholder approval.
Keep a content buffer
A queue of approved or nearly approved posts protects your publishing schedule when a writer is unavailable or an unexpected business priority appears.
Avoid publishing similar topics too close together
Review your calendar for overlap. Several articles targeting nearly identical search intent may compete with one another or create a repetitive experience for readers.
Use consistent naming and statuses
Clear draft names, categories, workflow statuses, and ownership make it easier to manage a growing queue. This is especially important when several people or tools touch the same content.
Verify scheduled posts periodically
Check that future posts remain scheduled, images are available, and important WordPress or plugin updates have not affected the publishing process. For automated workflows, also monitor delivery logs or connection diagnostics where available.
Troubleshooting missed or late WordPress posts
A scheduled post may fail to publish at the expected time for several reasons. Common areas to check include:
- The site’s configured time zone
- WordPress cron execution and hosting behavior
- Plugin or theme conflicts
- Caching or security settings
- A post still saved as a draft instead of scheduled
- Failed content delivery from an external automation tool
- Temporary hosting or connectivity issues
Start by checking the post status and scheduled date. Then review your WordPress site health information, plugin logs, hosting controls, and any available integration diagnostics.
If your site frequently misses scheduled posts, avoid adding more automation before identifying the underlying issue. A dependable workflow needs monitoring and a clear fallback process, such as manual publication or an approval queue.
Final thoughts
WordPress makes basic post scheduling straightforward: prepare a post, choose a future date and time, and confirm the schedule. For a small site, that may be all you need.
As your content operation grows, the larger challenge becomes managing the entire workflow around scheduling. A content calendar, review checklist, reliable WordPress configuration, and carefully selected automation tools can help you publish consistently without sacrificing quality.
Start with the native WordPress scheduler, then add editorial or content automation tools only where they remove a real bottleneck. The goal is not to publish more posts for its own sake—it is to create a dependable system for publishing useful content at a pace your business can support.