

 Veselin Stoyanov12 min read
How to Launch a Next.js Blog: Templates, Starters, and SEO
Learn how to choose a Next.js blog starter, structure your routes and metadata, and launch an SEO-ready blog from day one.

How to Launch a Next.js Blog: Templates, Starters, and SEO
A Next.js blog can give you control over performance, design, content structure, and publishing workflows. But the starter you choose matters. A visually polished template can still create SEO problems if it uses inconsistent URLs, weak metadata, poor heading structures, or an awkward content model.
The best approach is to treat your next js blog starter as more than a collection of components. It should provide a reliable foundation for publishing, indexing, navigation, metadata, images, and future growth.
This guide explains how to choose a Next.js blog template and launch it with SEO fundamentals in place from day one.
What to look for in a Next.js blog starter
Before installing a template, evaluate its structure rather than its screenshots. A useful starter should make it easy to do five things well:
- Create stable, descriptive URLs for articles and topic pages.
- Control page metadata such as titles, descriptions, canonical URLs, and social images.
- Connect content to a repeatable publishing workflow.
- Generate fast, accessible pages across desktop and mobile devices.
- Expand without rebuilding the blog later.
Next.js supports both the App Router and the Pages Router, but new projects commonly use the App Router and its conventions for layouts, pages, metadata, route handlers, and sitemaps. Choose a starter that matches the router and deployment workflow your team intends to maintain.
A good template should also separate content from presentation. Article data should not be deeply embedded in individual page components. Instead, use a predictable content model that can support fields such as:
- Title
- Slug
- Summary or excerpt
- Publication date
- Author
- Featured image
- Body content
- Categories or tags
- SEO title and description
- Canonical URL
- Optional structured data
This separation makes it easier to switch between local MDX files, a content API, or an automated publishing system later.
Choose the right content model
Most Next.js blog starters use one of three approaches.
1. Local Markdown or MDX
Local MDX stores articles inside the repository. This is a strong option when developers or editors are comfortable working with pull requests and deployments.
Advantages:
- Simple to understand and version-control
- Easy to customize with React components
- No external content system is required
- Works well for a small, carefully edited publication
Trade-offs:
- Publishing usually requires a code change or deployment
- Non-technical writers may need help preparing content
- A large archive can become difficult to manage manually
2. Headless CMS content
A headless CMS lets editors create content through an administrative interface while the Next.js application fetches and renders it.
Advantages:
- More familiar editing experience
- Centralized media and content management
- Better suited to teams with multiple contributors
Trade-offs:
- Adds another system to configure and maintain
- Requires careful caching and preview implementation
- The CMS schema must match your SEO requirements
3. API-driven or automated publishing
An API-driven workflow is useful when content is planned and produced outside the Next.js repository. Articles can be delivered to the application through an API or webhook, then rendered using the same blog components.
This approach is particularly useful for businesses that want a repeatable SEO publishing process. RankWorker’s Next.js integration provides an official @rankworker/nextjs-blog library with a customizable blogging engine. The integration supports local MDX files or RankWorker content through the Direct API and webhooks, so you can choose between repository-based publishing and automated content delivery.
Build an SEO-friendly blog structure
Your URL structure should be decided before publishing. Changing it later can create redirects, broken links, and avoidable ranking volatility.
A straightforward structure might look like this:
/blog
/blog/[slug]
/blog/tag/[tag]
/blog/page/[page]
You may also prefer category-based paths, such as /blog/technical-seo/article-slug. Use categories in URLs only if they are stable and genuinely useful. A short /blog/[slug] structure is often easier to maintain because an article can change categories without changing its primary URL.
Keep these rules consistent:
- Use lowercase slugs.
- Separate words with hyphens.
- Remove unnecessary dates unless the publication is strongly date-based.
- Avoid changing slugs after publication.
- Redirect old URLs if a change is unavoidable.
- Ensure every article has one canonical URL.
Your blog index should help visitors and search engines discover content. Include clear links to recent articles, important topic pages, and pagination where appropriate. Do not rely only on client-side filtering if you want topic pages to be crawlable and shareable.
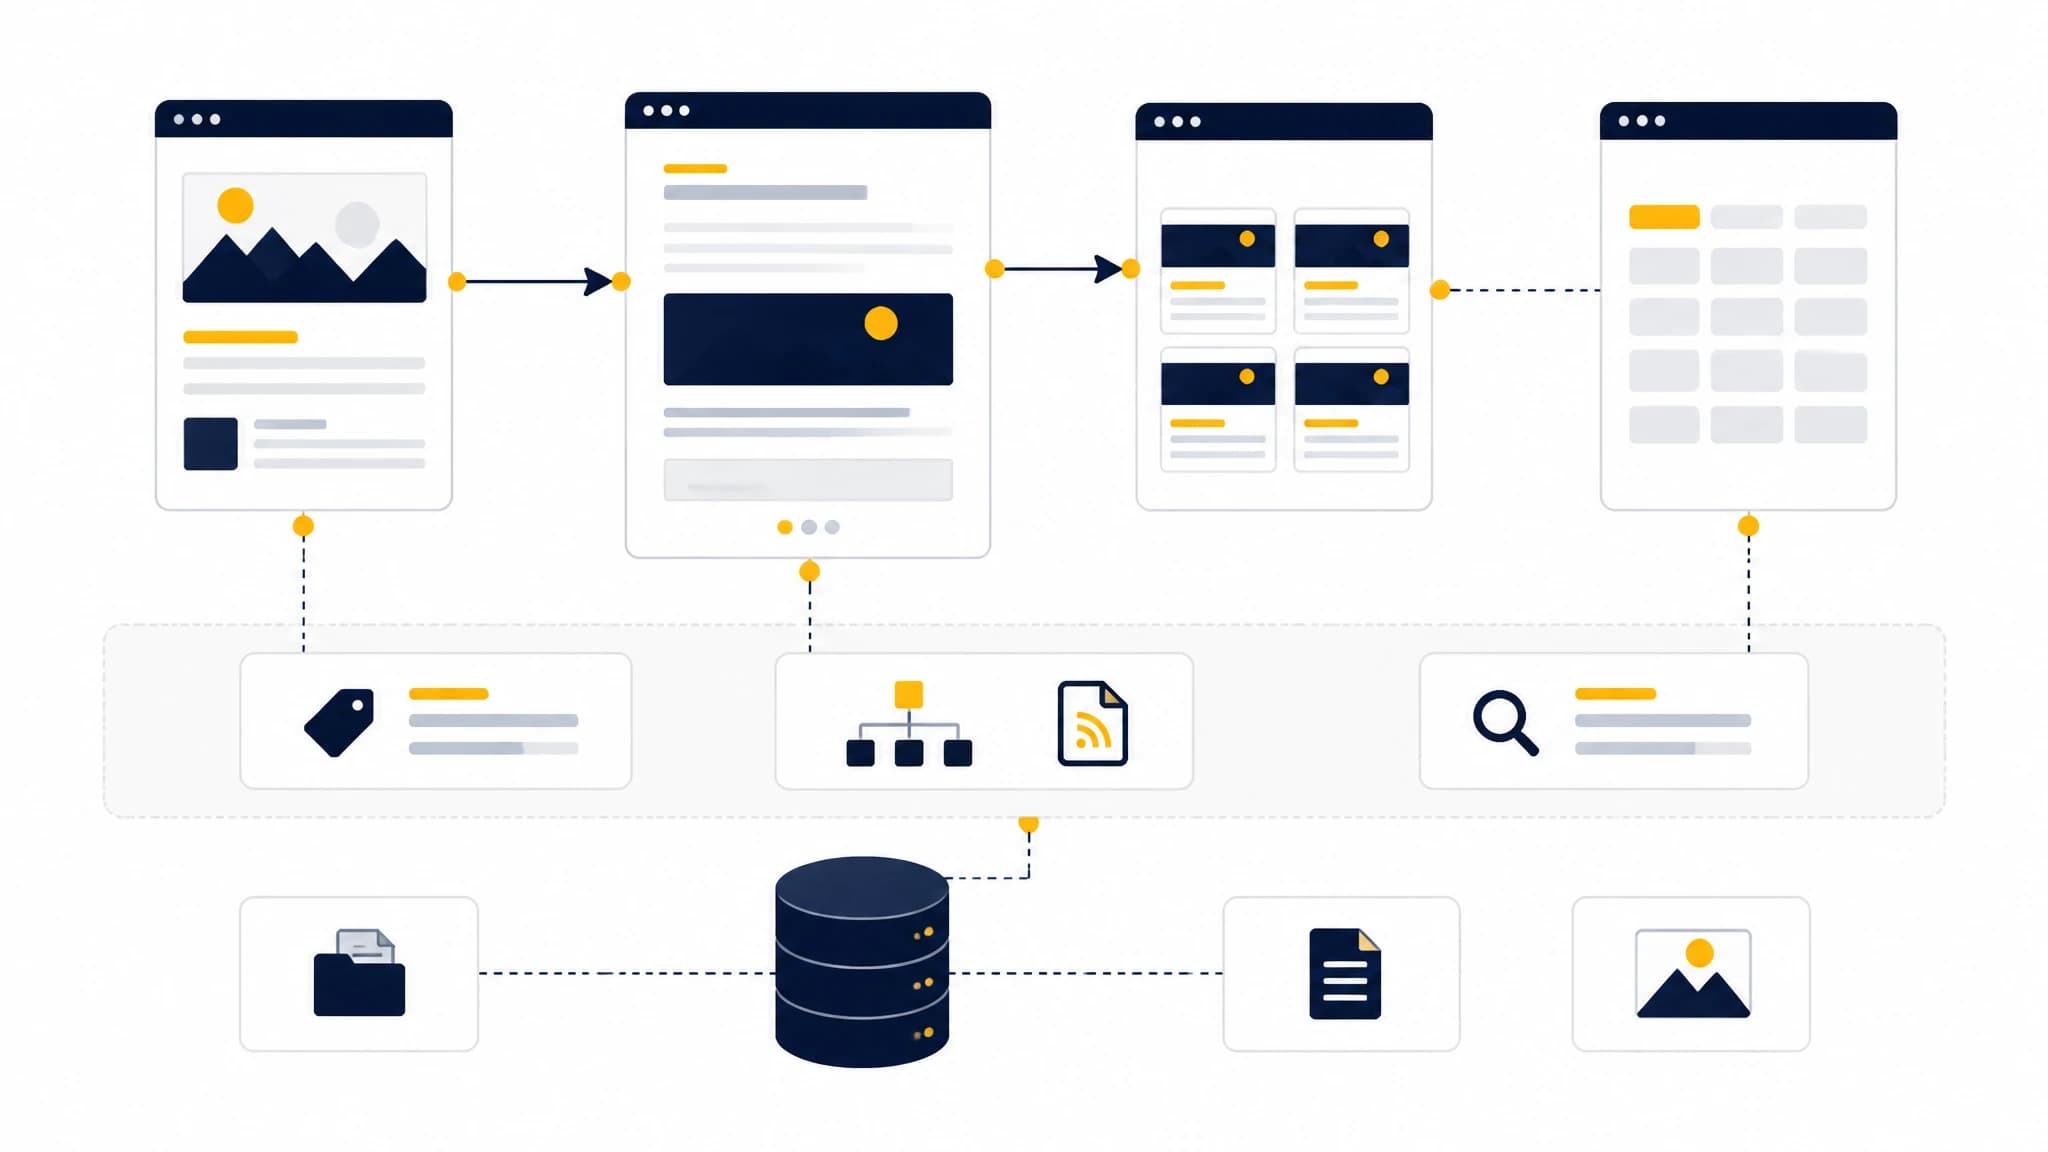
Plan routes, content fields, and discoverability features before publishing.
Set up metadata before publishing
A Next.js blog template should make metadata a first-class part of the content workflow. Every article needs a unique, useful HTML title and meta description.
A practical title formula is:
Primary topic: Specific benefit or angle | Brand
For example:
Next.js Blog Starter: How to Build an SEO-Ready Blog | Brand
Keep the title focused on the search intent rather than repeating the keyword several times. The meta description should explain what the reader will learn and give them a reason to click, without making claims the article does not support.
Also configure:
- Canonical metadata
- Open Graph title, description, and image
- Social card metadata
robots.txt- XML sitemaps
- Site name and favicon
- Language and locale settings
Next.js provides metadata APIs and file conventions that can help centralize these settings. Your starter should expose them clearly instead of burying them in unrelated components.
For article pages, generate metadata from the article record. If an SEO title exists, use it; otherwise, fall back to the article title. Do the same for the description and featured image. Avoid generating identical metadata for every post.
Use structured data carefully
Structured data can help search engines understand the page, but it should accurately describe visible and relevant content.
For a typical blog article, consider Article or BlogPosting structured data with fields such as:
- Headline
- Description
- Image
- Date published
- Date modified
- Author
- Publisher
- Main entity URL
Your article template should generate this data from the same source used to render the page. That reduces the risk of displaying one title to users while sending different information in JSON-LD.
Do not add fields simply because they are available in a schema example. Only include information your site can verify. If your blog does not display ratings, reviews, or other special content, do not mark it up as though it does.
Design the article template for search intent
A strong Next.js blog template should make helpful content easy to read. SEO is not only about metadata; the page must also satisfy the reason someone searched.
Use a consistent article layout with:
- A clear H1 containing the main topic
- A short introduction that answers the basic question
- Descriptive H2 and H3 headings
- Short paragraphs
- Lists for procedures and checklists
- Code blocks with readable formatting
- Captions or context for important images
- Related content where it genuinely helps
- A visible publication or update date when relevant
Avoid placing multiple H1 headings on a page. Do not use headings only for visual styling; use them to represent the content hierarchy.
For tutorial content, show the expected result before diving into implementation. Readers should understand what they are building, which files they will edit, and what assumptions the tutorial makes.
Make images useful and fast
Images can improve comprehension, but they also affect page performance. A blog starter should support responsive images, meaningful alternative text, and sensible loading behavior.
For every image, ask:
- Does it help explain the content?
- Is the alt text describing the image’s purpose rather than stuffing keywords?
- Is the file compressed and served in an efficient format?
- Does the image have defined dimensions to reduce layout shift?
- Is the featured image suitable for social sharing?
Use screenshots for interface instructions and diagrams for architecture or workflows. Decorative images should not compete with the article or make the page slower without adding meaning.
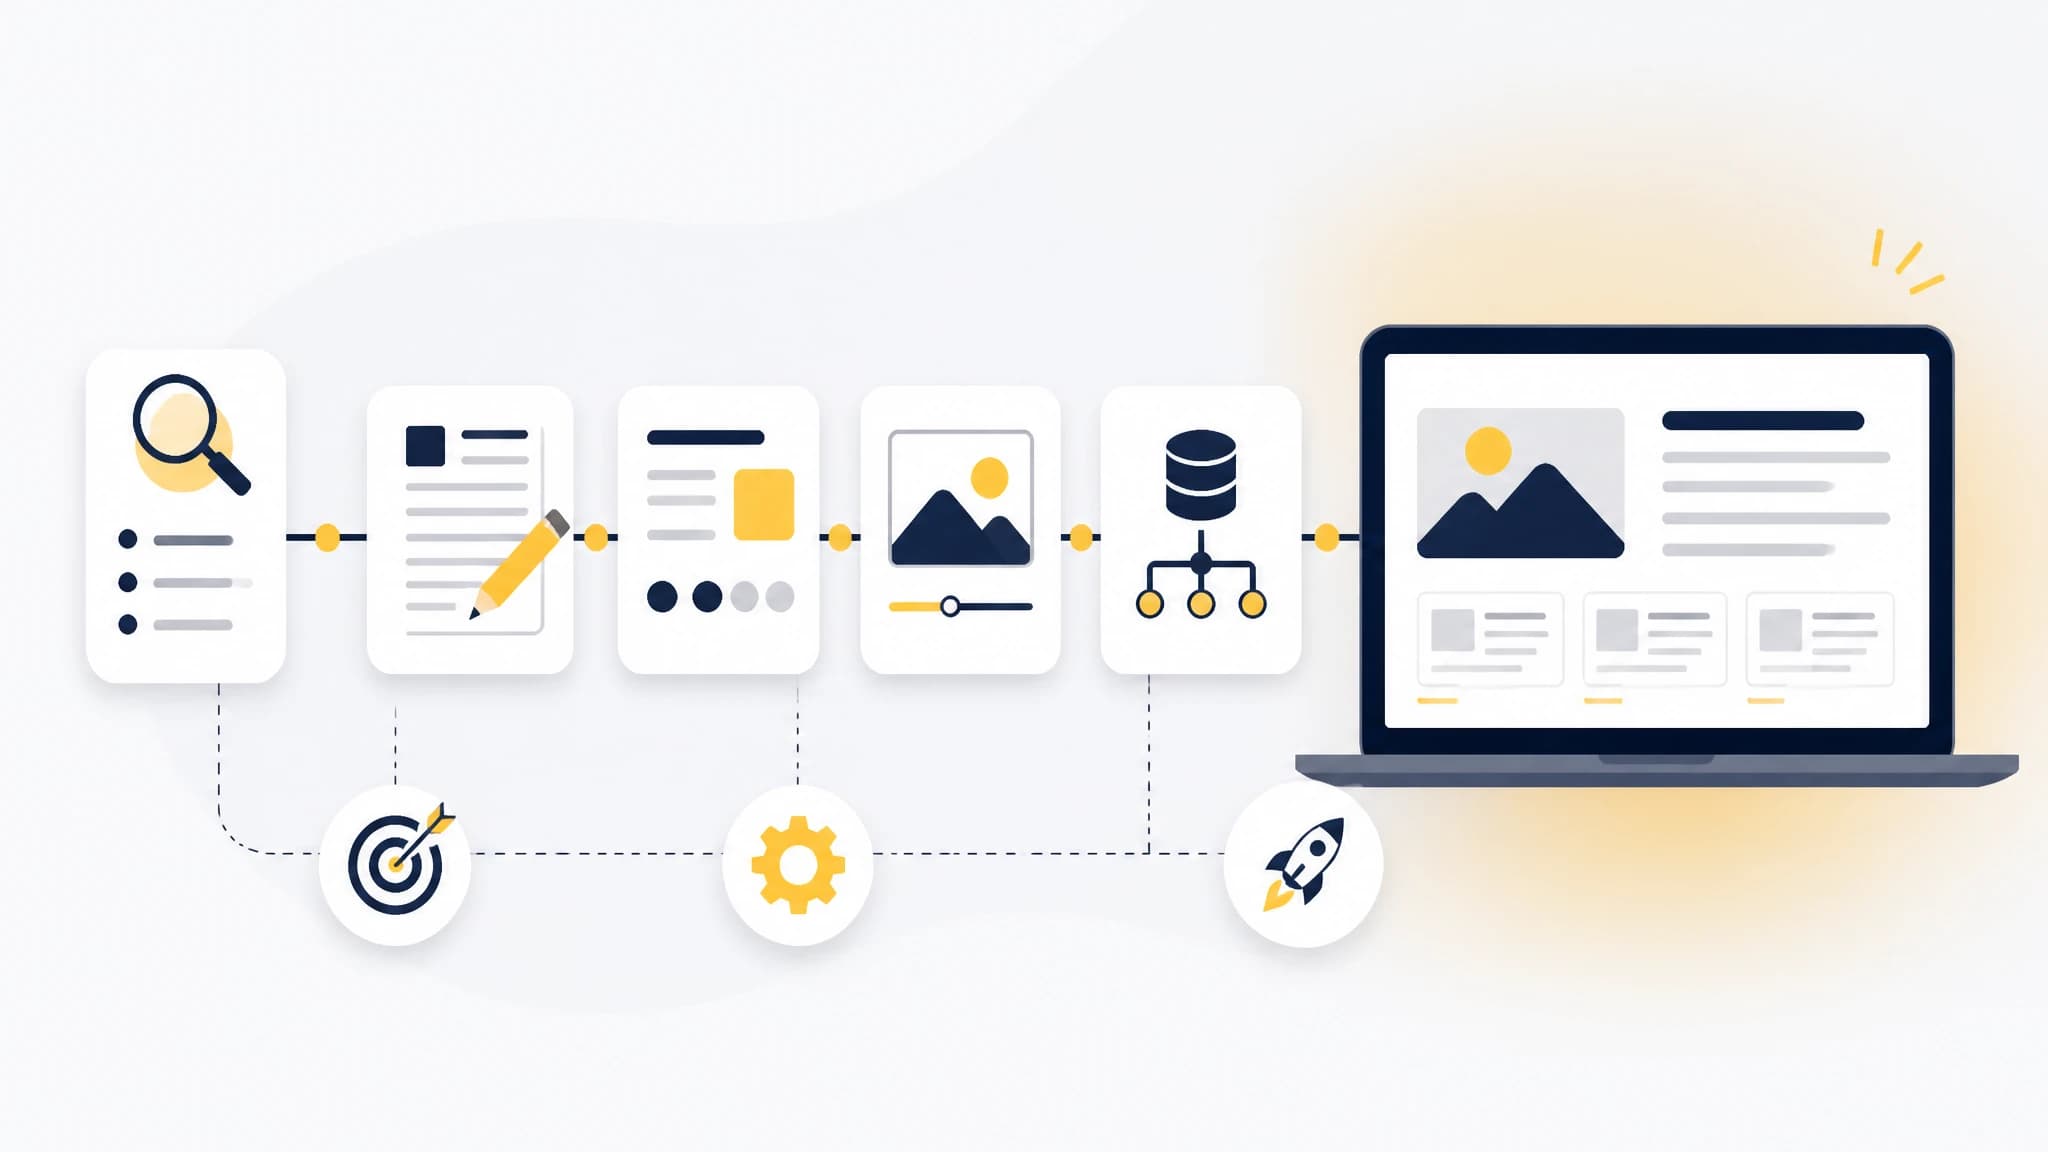
A repeatable workflow helps turn a technically sound blog into a consistent publishing system.
Create an editorial workflow that scales
A blog can be technically sound and still fail because publishing is inconsistent. Decide how topics move from idea to published page.
A simple workflow is:
- Identify a specific audience problem.
- Assign a primary keyword and search intent.
- Define the article’s promised outcome.
- Create an outline that covers the problem completely.
- Draft and review the article.
- Add metadata, images, links, and structured data.
- Publish or schedule the page.
- Monitor performance and refresh it when necessary.
If you use local MDX, this workflow can happen through a repository and deployment process. If you use an automated content source, make sure the Next.js app can receive the article data, render it consistently, and update the relevant listing or sitemap behavior.
RankWorker is relevant when you want to connect content planning and production to a Next.js blog. Its Next.js library is designed to provide reusable blog components, article and tag pages, and SEO elements such as canonical metadata, Open Graph tags, JSON-LD, and blog and image sitemaps. New content can be delivered through the Direct API and webhooks, while local MDX remains available for a repository-based workflow.
Test the blog before launch
Do not wait until the first article is published to test the template. Create a sample article and inspect the complete rendered page.
Check the following:
Crawlability
Confirm that important pages are accessible without client-side interaction. Check internal navigation, pagination, category or tag pages, and links from the blog index.
Metadata
Inspect the generated HTML and verify that each page has a unique title, description, canonical URL, and social metadata. Test an article with a long title, missing optional fields, and a featured image.
Sitemap and robots behavior
Make sure published article URLs appear in the appropriate sitemap and that important pages are not accidentally blocked. Draft or preview content should not be exposed unintentionally.
Mobile layout
Read a full article on a small screen. Look for horizontal scrolling, oversized code blocks, difficult-to-tap links, and images that overflow their containers.
Performance
Test representative pages rather than only the homepage. The article page, blog index, and tag page may have different data-fetching and image-loading behavior.
Accessibility
Use semantic HTML, keyboard-friendly navigation, visible focus states, useful link text, and alt text that supports the surrounding content. An accessible article is usually easier for all readers to scan.
Launch checklist
Before announcing your new blog, confirm that:
- The blog has one consistent URL pattern.
- Article pages generate unique metadata.
- Canonical URLs use the correct domain and protocol.
- Open Graph images render correctly.
- The sitemap includes published content.
robots.txtdoes not block important routes.- Article headings follow a logical hierarchy.
- Images are compressed and have useful alt text.
- The blog works on mobile and desktop.
- Old or placeholder content is removed from navigation.
- Analytics and search monitoring are configured according to your privacy and measurement requirements.
- You have a process for updating older articles.
Final thoughts
Choosing a Next.js blog template is an architectural decision, not just a design decision. The right starter gives you a clean content model, stable URLs, controllable metadata, crawlable navigation, and a publishing workflow you can maintain.
Start with a small structure, establish SEO conventions before publishing, and test the complete rendered experience. If your team wants to automate content planning and delivery, an API-connected Next.js blog can reduce manual publishing work without forcing every article into the codebase.
The goal is a blog that is easy to publish today and still easy to manage when the content library grows.