

 Veselin Stoyanov11 min read
How to Optimize Your WordPress Editorial Workflow
Build a faster WordPress editorial workflow with clear stages, fewer manual tasks, better SEO checks, and more consistent publishing.
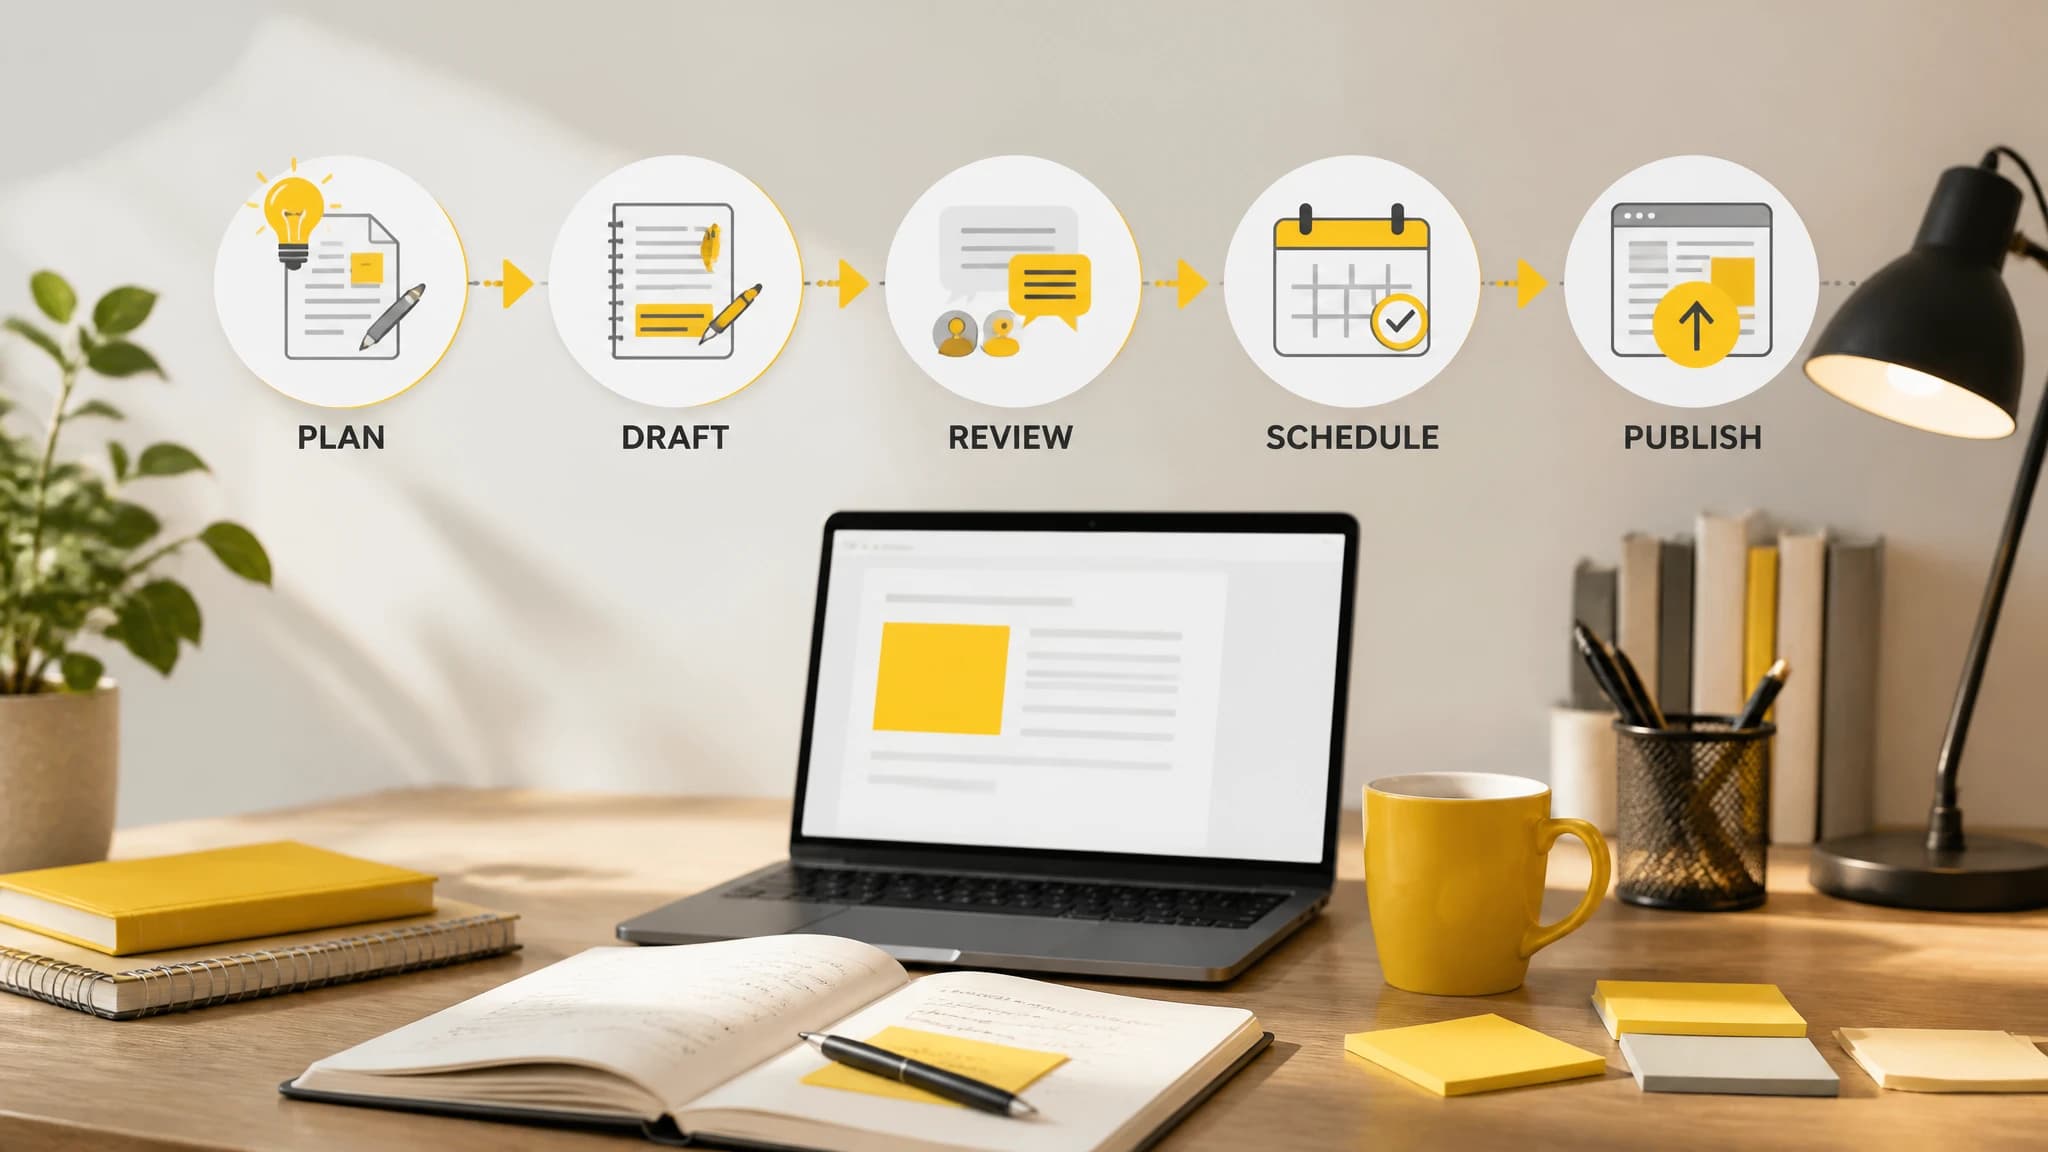
How to Optimize Your WordPress Editorial Workflow
A WordPress editorial workflow is the repeatable process your team uses to plan, create, review, publish, and maintain content. When that process depends on scattered documents, manual uploads, and last-minute checks, publishing becomes slow and inconsistent.
The solution is not simply to produce more content. It is to design a workflow where every article moves through the same clear stages, with defined ownership and fewer repetitive tasks.
This guide explains how to build a more efficient WordPress editorial workflow for a solo founder, marketing team, or business managing multiple contributors.
What a WordPress editorial workflow should include
A reliable workflow connects the full journey of an article:
- Topic and keyword selection
- Search intent and content planning
- Brief creation
- Drafting
- Editing and fact-checking
- SEO preparation
- Image and media preparation
- WordPress upload and formatting
- Scheduling or publishing
- Performance review and content updates
Many websites handle these stages in separate tools. A keyword may live in a spreadsheet, the brief in a document, the draft in another platform, and the final article in WordPress. Each handoff creates opportunities for delays and errors.
A better WordPress content workflow keeps the stages connected and makes the next action obvious.
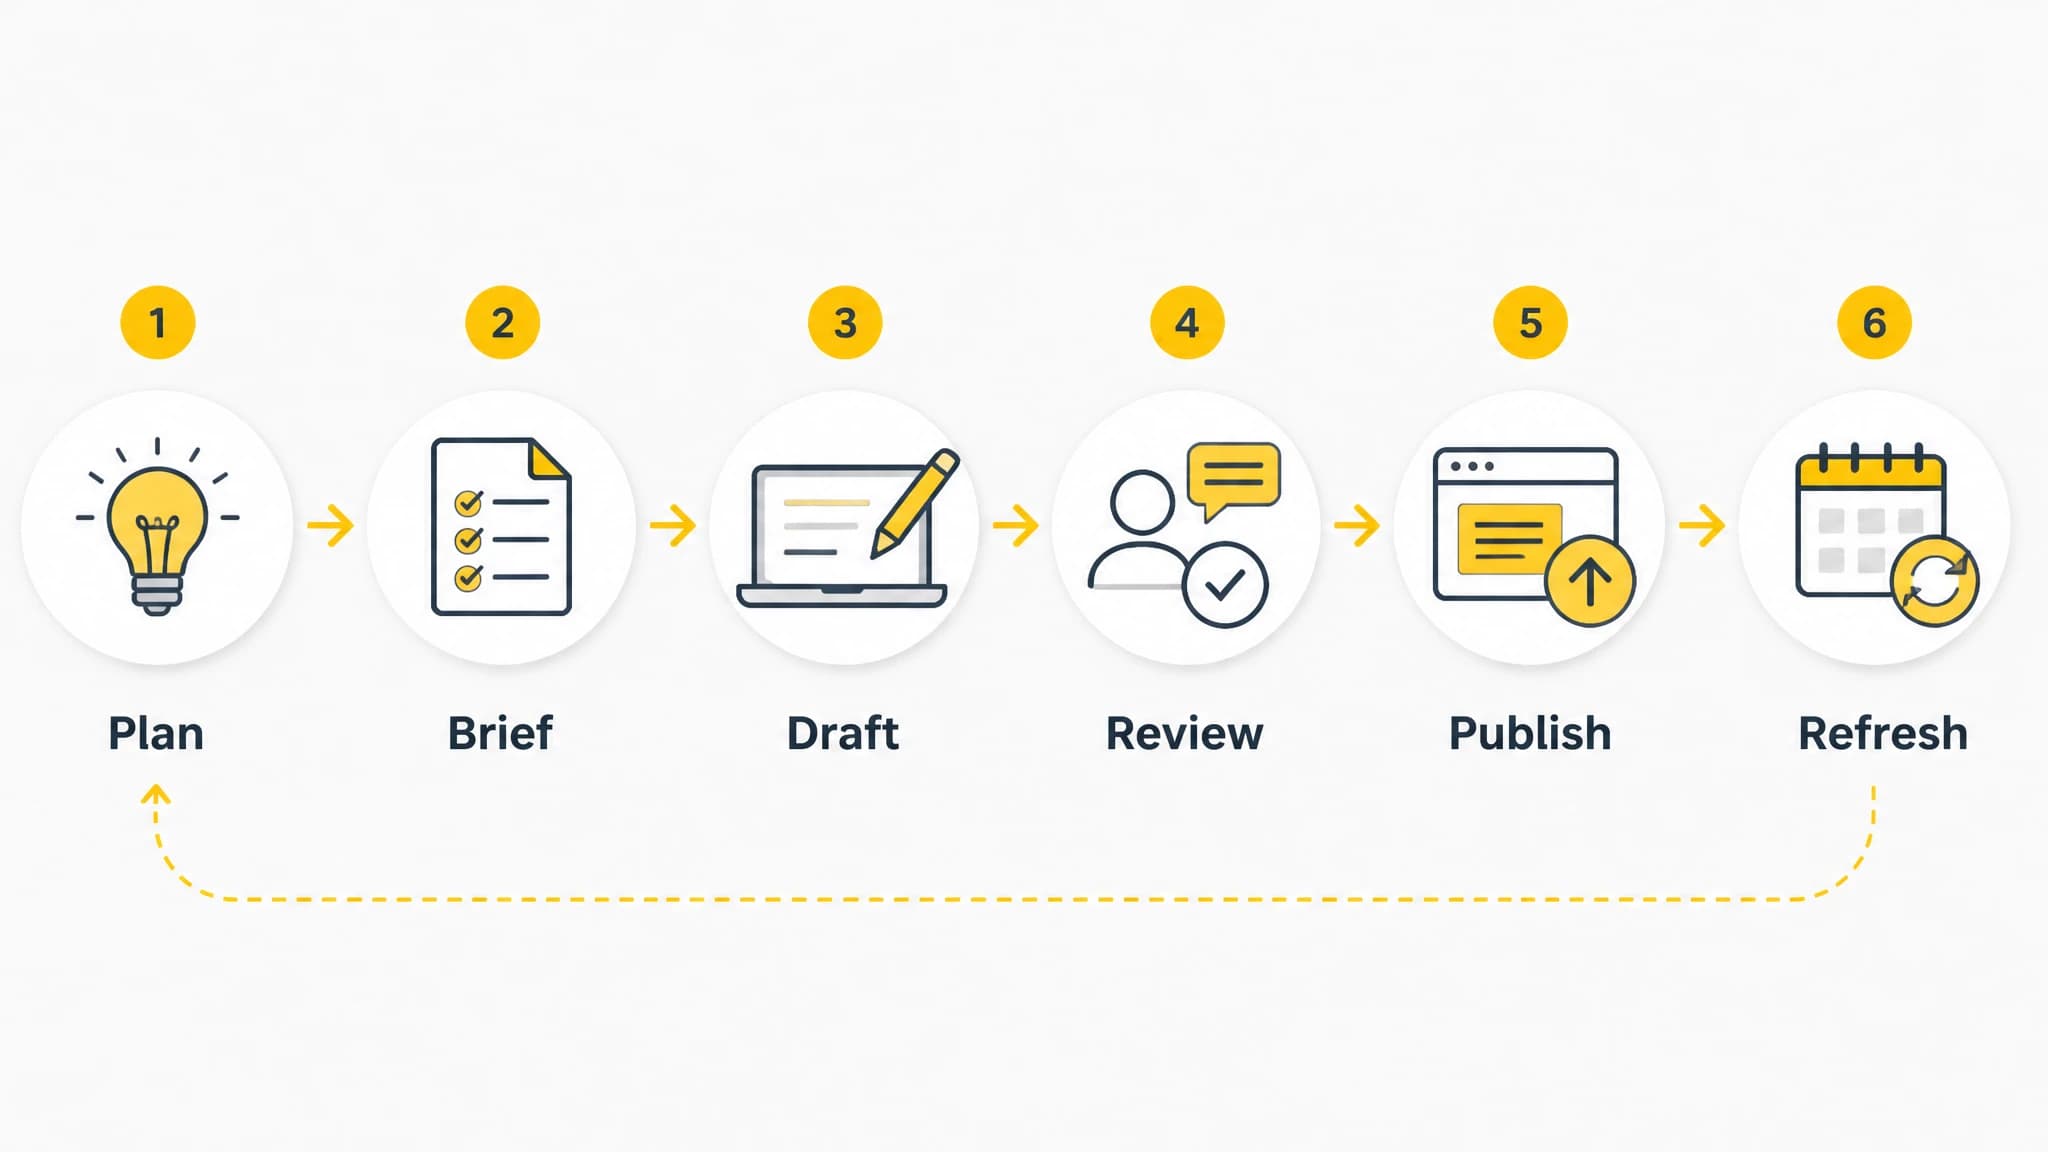
Map every stage from content planning through post-publication updates.
1. Start with a content planning system
The first improvement is to separate planning from writing. If writers choose topics only when they have time to publish, your editorial calendar will usually become reactive.
Create a central content plan that records:
- Target keyword
- Search intent
- Intended audience
- Article type
- Related pages to link to
- Suggested publishing date
- Content owner
- Current status
Use consistent status labels such as Planned, Brief Ready, In Progress, In Review, Approved, Scheduled, Published, and Refresh Needed. These labels make it easier to see where work is blocked.
Planning should also prevent overlapping articles. Before approving a topic, check whether the website already has a page targeting the same intent. If it does, update or expand the existing page instead of creating a competing article.
A useful editorial calendar is more than a list of titles. It should show how individual posts support broader topic clusters and business priorities.
2. Create a repeatable article brief
A good brief reduces revision time because the writer and reviewer start with the same expectations. It also improves consistency when several people contribute to the site.
Each brief should answer:
- Who is the article for?
- What question or problem is the reader trying to solve?
- What is the primary keyword?
- What related terms belong in the article naturally?
- What should the reader understand or do after reading?
- Which existing pages should the article reference?
- What information requires verification?
- What tone, format, and length are appropriate?
Do not turn the brief into a rigid instruction to repeat keywords. Search intent and usefulness should guide the structure. The article should answer the main question early, then provide enough detail for the reader to take the next step.
For recurring content types, save brief templates. A product guide, comparison article, tutorial, and thought leadership post may each need different sections and review criteria.
3. Standardize the drafting process
A consistent drafting process makes it easier to estimate workload and maintain quality.
A practical sequence is:
Define the answer first
Write a short answer to the reader's main question before developing the full article. This keeps the draft focused and improves the chance of earning visibility for answer-oriented searches.
Build the outline around decisions
Organize sections around what the reader needs to know, compare, choose, or do. Avoid adding headings simply to include variations of the target keyword.
Draft without interrupting the structure
During the first draft, focus on clarity and completeness. Add examples, steps, warnings, and context where they help the reader. Leave fine-grained title or sentence edits for the review stage.
Record uncertain claims
If a statement needs confirmation, flag it during drafting. This is safer than relying on memory or allowing an unverified claim to pass into the published article.
For teams, define who owns the draft and when it must be ready for review. For solo founders, use the same stages even if one person performs every role.
4. Separate editing from SEO review
Editing and SEO review overlap, but they are not the same task. Combining them into one vague final check often causes important issues to be missed.
The editorial review should assess:
- Accuracy
- Clarity
- Organization
- Originality
- Usefulness
- Tone
- Spelling and grammar
The SEO review should assess:
- Search intent alignment
- Title and meta description
- Heading hierarchy
- Internal links
- Image alt text
- URL structure
- Article category and tags
- Duplicate or competing topics
Use a checklist rather than relying on memory. A short checklist completed consistently is more valuable than an extensive checklist that no one uses.
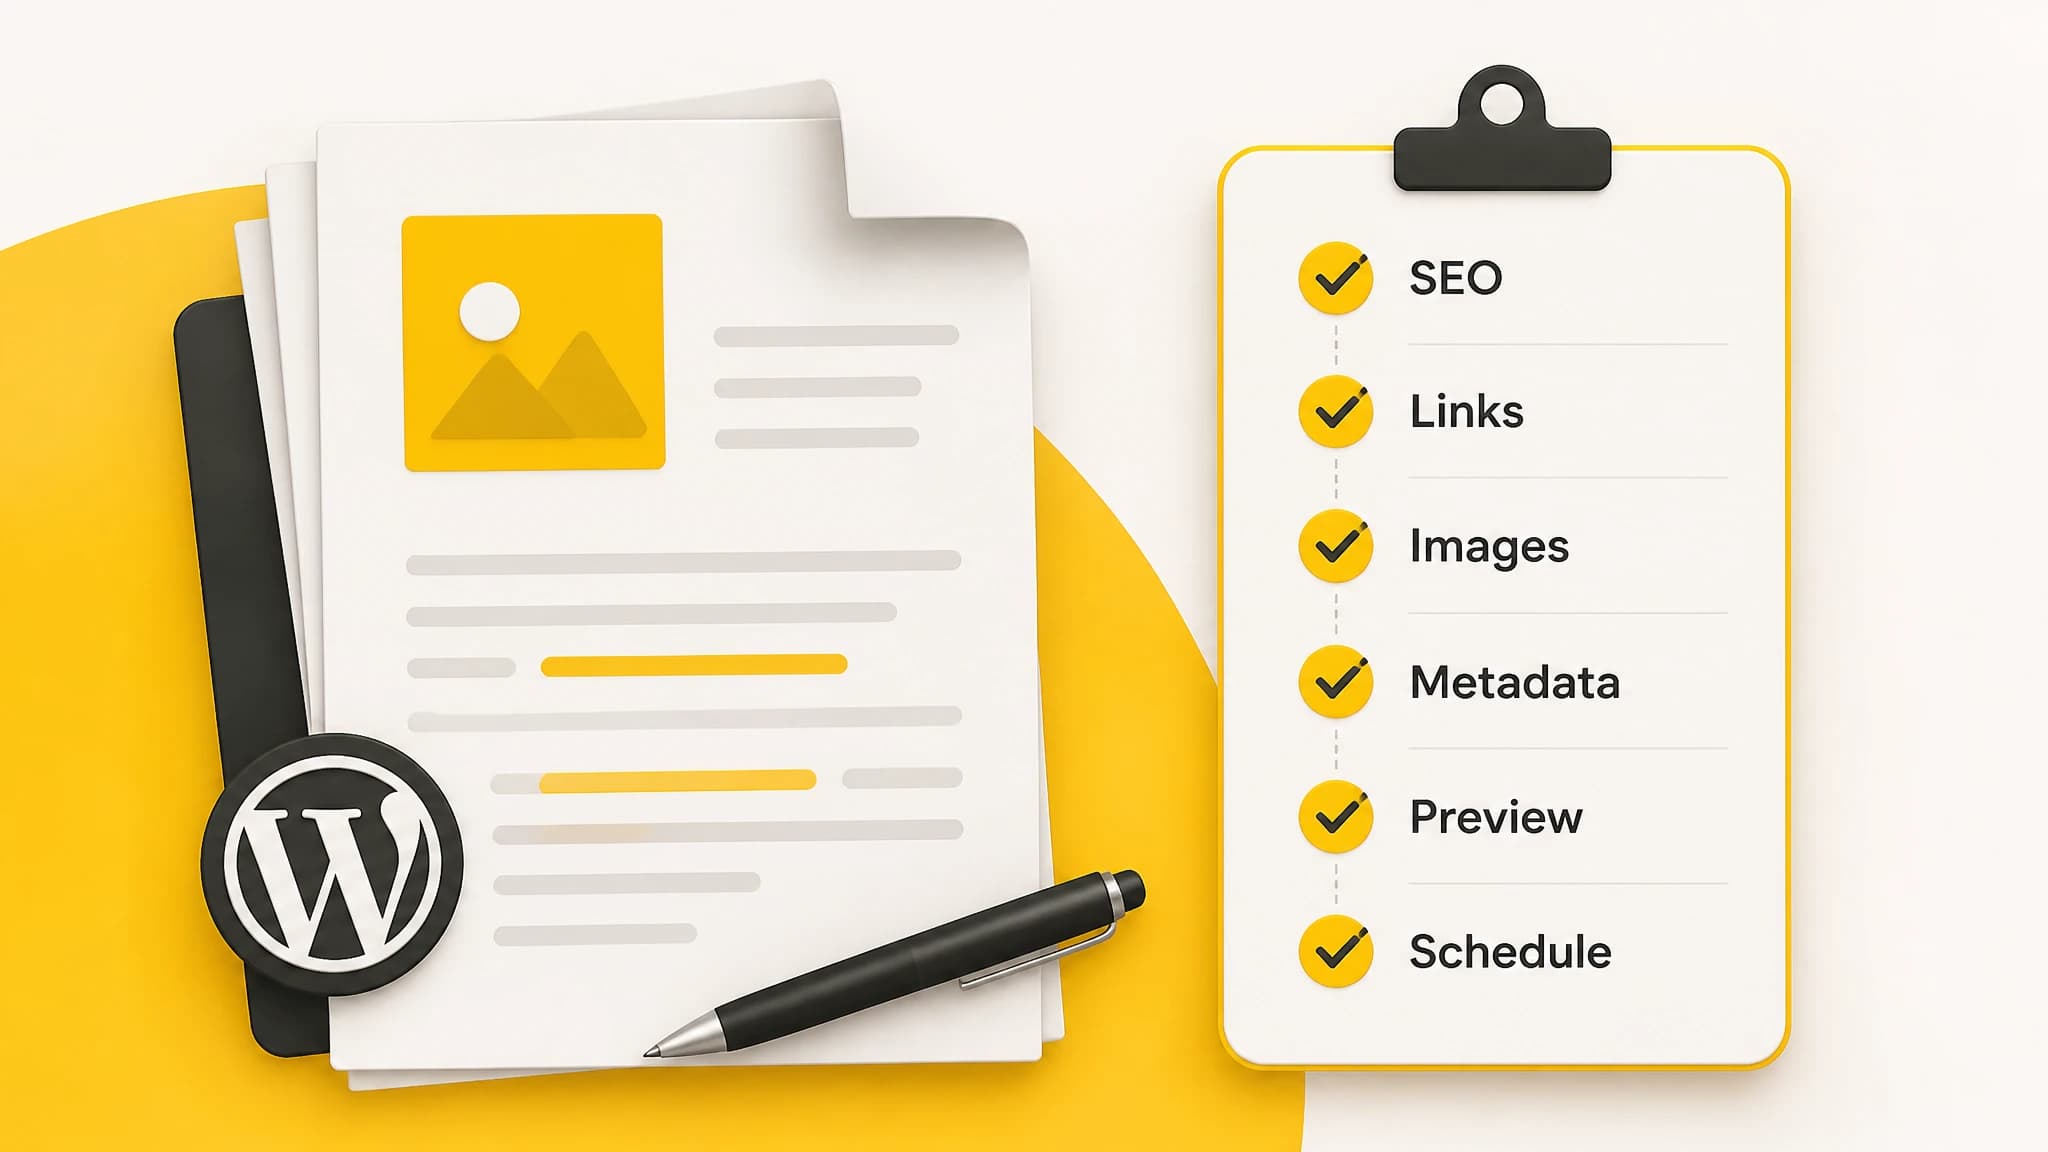
A repeatable checklist catches publishing issues before an article goes live.
5. Define a WordPress publishing checklist
The transition from approved draft to published post is where many manual errors occur. Create a publishing checklist that someone can complete in a few minutes.
Before scheduling, confirm:
- The article is assigned to the correct author
- The title matches the approved version
- Headings use the correct hierarchy
- Links work and open to the intended destinations
- Images are compressed and placed correctly
- Alt text describes meaningful images
- The featured image is selected
- The URL slug is concise and readable
- The meta title and description are present
- Categories and tags are consistent
- The preview looks correct on mobile
- The publication date and time are correct
If your website uses custom blocks or templates, include a visual preview step. Content that looks correct in a writing tool may need adjustments inside the WordPress editor.
The goal is not to remove human judgment. It is to reserve human attention for decisions that need it instead of spending it on copying, pasting, and repetitive formatting.
6. Reduce manual handoffs between tools
Every handoff should have a clear purpose. If a person is repeatedly moving the same article between a planning tool, writing tool, image folder, and WordPress, that process is a candidate for automation.
Look for tasks such as:
- Copying article text into WordPress
- Re-entering metadata
- Downloading and uploading images
- Reformatting headings and lists
- Creating scheduled drafts
- Updating status in more than one system
- Sending repetitive publication notifications
Before automating a task, define the expected input and output. For example, decide whether an approved article should arrive in WordPress as a draft, scheduled post, or published post. Also decide which fields must be included, such as title, body, metadata, images, author, category, and tags.
This prevents automation from simply moving confusion faster.
7. Use a connected WordPress publishing workflow
If your content process already includes structured planning and article generation, connecting it directly to WordPress can remove one of the most repetitive stages: transferring approved content into the CMS.
RankWorker's WordPress integration connects through its official WordPress plugin. According to the integration documentation, it supports push mode for direct delivery when a site is publicly reachable and pull mode for sites that are private or cannot accept inbound requests. The setup is designed around installing the plugin, choosing a delivery mode, and completing the connection in RankWorker.
This approach can be useful when you want to keep WordPress as the publishing destination while managing planning and content production in a connected workflow. It also gives teams a defined delivery step instead of requiring someone to copy each approved article manually.
8. Schedule content in batches
Batching separates creative work from administrative work. Instead of researching, writing, formatting, and publishing one article at a time, group similar tasks together.
For example:
- Plan several topics during one session
- Prepare multiple briefs together
- Review drafts in a dedicated block
- Schedule approved posts for the next publishing period
- Review performance on a recurring date
Batching works best when every article follows the same status system and checklist. It also makes gaps in the publishing calendar easier to identify.
Do not schedule content so far in advance that it becomes disconnected from current business priorities. Leave room for timely updates, product changes, seasonal topics, and important customer questions.
9. Create clear ownership rules
A workflow can still fail when responsibilities are unclear. Every stage should have an owner, even if that owner is the same person throughout the process.
Define who is responsible for:
- Approving topics
- Preparing briefs
- Writing drafts
- Checking facts
- Reviewing SEO elements
- Approving final content
- Publishing or scheduling
- Monitoring results
Also define what happens when a reviewer requests changes. A simple rule might be that the writer moves the article back to In Progress, addresses the comments, and returns it to In Review.
Avoid approval processes with too many overlapping reviewers. Add a reviewer when they provide a necessary perspective, not merely because they are available.
10. Measure workflow performance, not only traffic
Organic traffic is important, but it is a lagging outcome. To improve the editorial system, also monitor operational measures such as:
- Time from topic approval to publication
- Number of revision cycles
- Articles delayed at each stage
- Percentage of articles published on schedule
- Manual steps per article
- Content updates completed each month
These measures reveal where the process is slowing down. If articles spend most of their time waiting for approval, the solution may be clearer review rules. If publishing takes too long, the solution may be better templates or a direct WordPress connection.
Review the workflow monthly and remove steps that no longer add value. A process should become simpler as your team learns what works.
A practical workflow template
You can use the following sequence as a starting point:
- Add a topic and target keyword to the content plan.
- Confirm the search intent and check for overlapping pages.
- Create the brief and assign an owner.
- Draft the article using the approved structure.
- Complete editorial review and fact-checking.
- Complete the SEO and publishing checklist.
- Add approved content to WordPress through the chosen delivery process.
- Preview, schedule, and confirm the publication details.
- Record the published URL and date.
- Review performance and identify future updates.
The exact tools may vary, but the stages should remain visible and repeatable.
Final thoughts
The best WordPress editorial workflow is not the one with the most tools. It is the one that makes content responsibilities clear, reduces repeated work, and gives every article a reliable path from idea to publication.
Start by documenting your current process. Identify the slowest handoffs, standardize your brief and review checklist, and automate the transfer steps that do not require editorial judgment. Over time, your workflow should make consistent publishing easier without lowering the quality of the content.