

 Veselin Stoyanov10 min read
AI Blog Image Generator: A Practical SEO Workflow
Learn when to use AI-generated blog images, how to write better prompts, review results, and prepare useful alt text for SEO articles.

A useful AI blog image generator can help you create a cover image or an in-article visual without derailing your publishing schedule. But adding an image to every post is not an SEO strategy by itself. Choose visuals that clarify the article, write a specific brief, check the result for relevance and accuracy, and prepare descriptive alt text.
This workflow covers each step, including where image generation fits into article production and how to decide whether a post needs a visual at all.
1. Decide whether the article needs an image
Start with the reader's task, not the image tool. Ask: would a visual make a process easier to understand, help readers recognize an example, or make a complex idea clearer? If the honest answer is no, you may not need an inline image.
A cover image can help a post look complete when it appears in a blog index or is shared. An inline image is most useful when it adds something the text alone does not. For example:
- A process diagram can show the stages in a workflow.
- A comparison graphic can make differences easier to scan.
- An annotated illustration can point out relevant parts of a concept.
- A realistic editorial image can establish the subject or setting of a practical guide.
Avoid inserting decorative visuals just to reach an arbitrary image count. A generic image may take up space without helping readers. For a more detailed look at keeping image creation connected to article production, see our guide to automating article images.
2. Choose the right visual format
The format should fit the information. Use photography or realistic lifestyle imagery for a scene that benefits from human context. Use a diagram for steps and relationships, a comparison graphic for alternatives, or an annotated illustration when readers need to inspect a specific concept.
Keep the image's job narrow. One visual should not try to explain an entire article. A workflow graphic, for example, can show the sequence of decisions, while the text provides the reasoning and exceptions.
For every planned image, write one sentence completing this thought: “After seeing this image, the reader should understand…” If you cannot finish that sentence with a specific answer, reconsider the image or its role.
3. Write a useful image brief
A generator cannot reliably infer your intended audience, context, or level of detail from a vague prompt like “SEO blog image.” Give it a brief with the information that shapes the result:
- Purpose: What should the image help the reader understand?
- Format: Should it be a photo, diagram, infographic, or another visual type?
- Subject: What objects, people, or concepts should appear?
- Context: Where will the image sit, and what surrounds it in the article?
- Constraints: What must be accurate, excluded, or kept simple?
For example, a weak brief might say: “Create an image about writing articles.” A more useful brief for a diagram could be: “Create a simple process diagram showing four stages: choose a topic, write an image brief, review the generated image, and write alt text. Use clear arrows and short labels. Do not add statistics, logos, or extra steps.”
When the visual is meant to be realistic, describe the scene and composition instead. Do not ask for text in a photograph unless the scene genuinely requires readable text. For a diagram, specify the exact labels you want rendered rather than leaving the generator to invent wording.
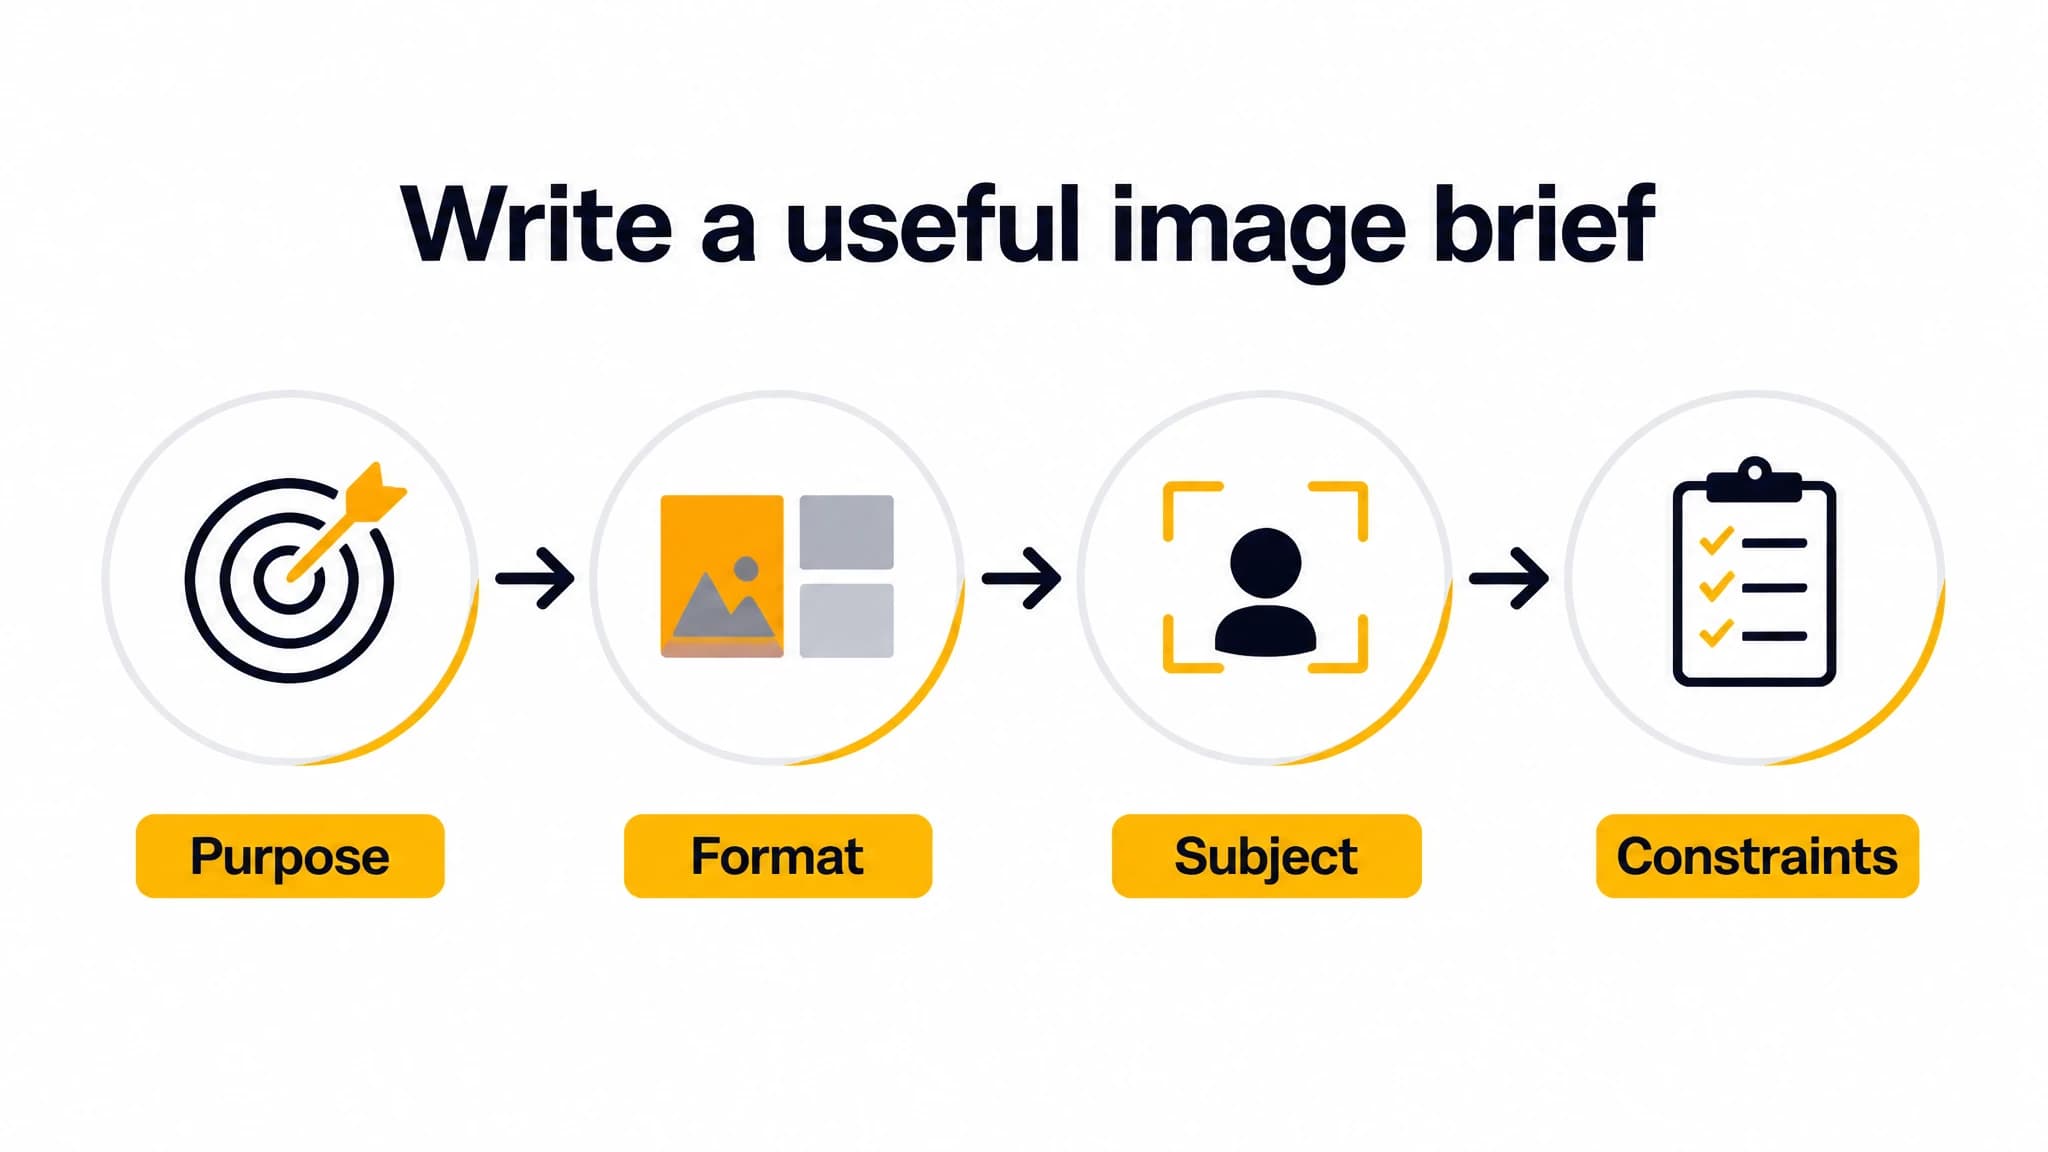
A focused brief gives an image generator the context and constraints it needs.
4. Generate the image in the article workflow
Once the brief is ready, generate a visual that serves the section rather than choosing a prompt based on a keyword alone. Then check that the image matches the article's subject, placement, and intended message.
This is where a connected workflow can save repetitive setup. With RankWorker, we can generate cover and inline images alongside SEO articles, keeping visual creation within the article workflow. That is useful for founders and small teams who want to prepare the article and its visuals together. It does not remove the need to judge whether an image belongs in the post or whether the generated result is correct.
If you are also evaluating how AI fits into article production more broadly, our guide to using an AI SEO content generator explains how image work fits alongside keyword targeting, article creation, and metadata.
5. Review the result before publishing
Treat generated images as drafts, not verified illustrations. Review each one against the brief and article. A fast review can catch common issues before they reach readers:
- Relevance: Does the image show the intended topic, not merely something vaguely related?
- Accuracy: Are objects, labels, relationships, and implied actions correct?
- Consistency: Does the image match the section's explanation and the surrounding article?
- Clarity: Can a reader understand the point at its displayed size?
- Unwanted details: Did the generator add garbled text, extra objects, misleading symbols, or visual artifacts?
- Use and suitability: Is the image appropriate for your audience and intended publication?
For a diagram with labels, compare every label and connection against the article. For a realistic image, look for details that could imply facts you did not intend to state. If an image is misleading or difficult to interpret, revise the brief and generate another version, or leave it out.
This review is also the main answer to a common adoption concern: using an AI image tool does not mean you have to publish whatever it returns. Keep a person responsible for deciding whether the visual is accurate and useful. For a broader review process, see our human review checklist.
6. Write descriptive alt text
Alt text should describe the relevant information in the image for people who cannot see it, including people using screen readers. It can also give search engines context about an image, but it is not a place to stuff keywords. Google's image SEO guidance recommends useful, context-aware descriptions and warns against keyword stuffing.
Write the description based on what the final image actually shows, not just what you asked the generator to create. Keep it concise and specific. For instance, if a diagram shows four steps from selecting a topic to writing alt text, a description might be: “Four-step diagram showing an SEO article image workflow, from topic selection to alt text.” Adjust it to match the finished image.
A few practical checks:
- Describe the meaningful subject or information, not every decorative detail.
- Use words that fit the surrounding article and the actual image.
- Do not repeat keywords unnaturally or add claims not shown in the image.
- If an image is purely decorative and conveys no useful information, follow your site's accessibility approach for decorative images rather than forcing a redundant description.

Review the generated image against its purpose before adding it to an article.
7. Check the image in the published page
Image work is not finished when generation ends. Preview the article on the page where readers will see it. Confirm that the image appears near relevant text, has a suitable crop and display size, and does not interrupt the reading flow. Check the page on a narrow screen as well as a desktop layout.
Also confirm that the final alt text is attached to the correct image and that any diagram labels remain legible. If the visual is too large, blurry, cropped in a confusing way, or separated from the section it explains, revise the asset or its placement. A relevant, well-prepared image can help readers understand the page; simply adding one does not guarantee better search rankings.
A repeatable SEO blog image workflow
Use this short checklist for each article:
- Identify a reader need that a visual can address.
- Choose a format that suits the information.
- Write a brief with purpose, subject, context, and constraints.
- Generate a cover or inline visual where it fits the article.
- Review the image for relevance, accuracy, and clarity.
- Write alt text based on the final image.
- Preview the image in the page and adjust its placement or presentation.
RankWorker is a practical fit if you want cover and inline image generation to sit alongside SEO article production rather than managing those steps in a separate workflow. You still make the editorial decisions: whether a visual adds value, whether it is accurate, and whether it is ready to publish. If you are trying the workflow for the first time, start with one article and review each step before making it part of a repeatable process.
Make visuals useful, not automatic
An AI blog image generator is most useful when it supports a clear editorial purpose. Decide what the reader needs, brief the visual carefully, check the output, and write alt text that accurately describes the final image. That process keeps visuals relevant and makes image production easier to repeat without treating automation as a substitute for editorial judgment.
With RankWorker, you can generate cover and inline images alongside SEO articles, then review the result before publishing. Start with a post where a visual can genuinely clarify an idea, and use the checklist above to decide whether the image earns its place.