

 Veselin Stoyanov14 min read
WordPress Post Scheduling: How to Automate Your SEO Publishing Calendar
Build a reliable WordPress post scheduling workflow for SEO content with practical steps for planning, review, metadata, images, and automated publishing.
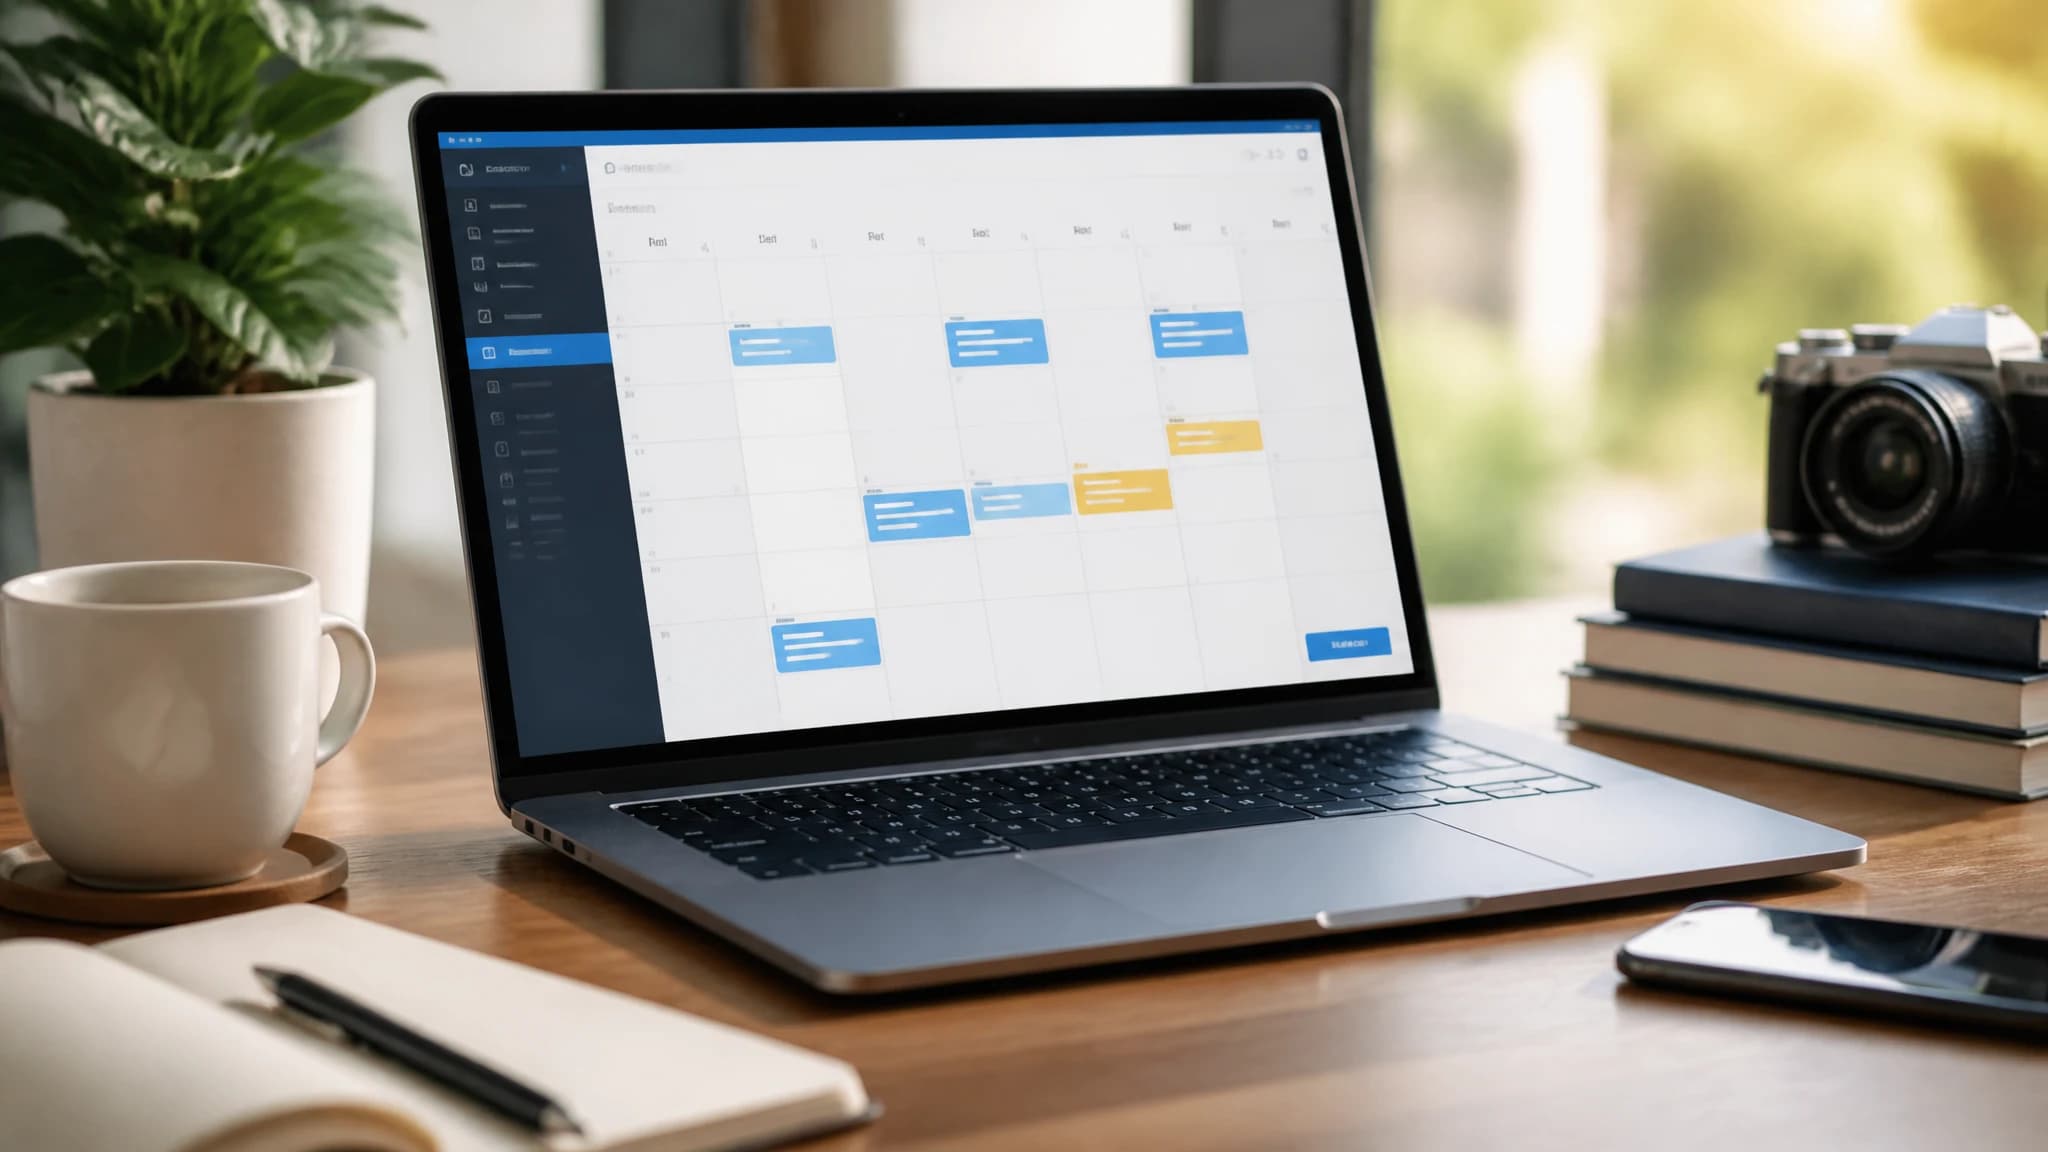
WordPress Post Scheduling: How to Automate Your SEO Publishing Calendar
WordPress post scheduling works best when publishing is treated as a repeatable process, not a final button click. A reliable workflow connects keyword planning, article production, review, metadata, images, scheduling, and post-publication checks.
For busy founders and website owners, the goal is simple: prepare high-quality SEO content in advance, place it on a clear WordPress content calendar, and reduce the number of manual handoffs required before publication.
This guide explains how to build that process and where automatic blog publishing software can help.
What a reliable WordPress scheduling process includes
A scheduled post should be ready to publish before its release time. That means your workflow should account for more than the article draft itself.
A dependable process includes:
- Topic and keyword selection based on audience needs and search intent.
- Content planning that assigns each article a purpose, target keyword, format, and place in the calendar.
- Article creation with a useful outline, clear structure, and appropriate depth.
- Editorial review for accuracy, originality, usefulness, tone, and brand fit.
- SEO preparation including the title, meta description, slug, headings, links, and image details.
- WordPress scheduling with the correct date, time, category, author, and status.
- Final publishing checks to catch formatting, media, link, and indexing problems.
When these steps are handled inconsistently, scheduled publishing can create new problems. An article may go live without a featured image, use the wrong category, miss an important internal link, or target a keyword that does not match the reader’s intent.
The answer is not to avoid scheduling. It is to create a checklist and assign each step to a clear stage in the workflow.
Step 1: Start with a WordPress content calendar
Your calendar should answer four questions for every planned post:
- What topic will we publish?
- Which search intent does it address?
- What is the target keyword?
- When and where will it be published?
A basic calendar can use columns for the article title, primary keyword, secondary keywords, content type, status, owner, scheduled date, WordPress category, and review notes.
Avoid filling the calendar with topics simply because they contain keywords. A useful SEO calendar balances search opportunity with business relevance. Prioritize topics that answer real questions, support your products or services, and fit naturally into your site’s broader subject coverage.
It also helps to group related topics into clusters. For example, a website about WordPress SEO might organize content around technical setup, keyword research, content planning, publishing, and performance monitoring. This makes it easier to create supporting links between related articles.
If you are scheduling posts manually, learn how to schedule posts in WordPress before expanding your process. The fundamentals of post status, publication dates, and bulk scheduling provide a useful foundation for automation.
Step 2: Define the production deadline, not just the publish date
A common scheduling mistake is to treat the publication date as the only important date. Your workflow also needs internal deadlines.
For example, an article scheduled for Friday might use this timeline:
- Monday: Confirm topic, keyword, and search intent.
- Tuesday: Complete the outline and first draft.
- Wednesday: Review the article and revise it.
- Thursday morning: Add metadata, images, links, and formatting.
- Thursday afternoon: Complete the WordPress preflight check.
- Friday: Publish and verify the live page.
The exact timing will vary, but the principle is consistent: finish the article before the scheduled publication window. This gives you room to correct errors without rushing or missing the publishing slot.
Leave additional time when a post requires subject-matter review, custom images, legal approval, or coordination across multiple people. Automation can reduce repetitive work, but it should not eliminate appropriate review.
Step 3: Prepare SEO elements before uploading to WordPress
SEO details should be part of article production, not an afterthought during upload.
Before scheduling, confirm the following:
Title and search intent
The title should make the article’s value clear and reflect the query it targets. A post about WordPress post scheduling should explain scheduling, automation, or the publishing workflow rather than drifting into a general discussion of content marketing.
Meta description
Write a concise description that summarizes the article and gives readers a reason to choose it in search results. Keep it accurate and avoid promising information the page does not provide.
URL slug
Use a short, readable slug that reflects the main topic. Avoid unnecessary dates, filler words, and changing the slug after publication unless there is a strong reason to do so.
Headings
Use headings to organize the article around the reader’s questions. Clear H2 and H3 headings also make the content easier to review before it is scheduled.
Internal links
Add links where they help the reader understand a prerequisite, explore a related topic, or take a logical next step. Do not add links just to increase the number of links on the page.
Categories and tags
Choose the correct WordPress category and approved editorial tags. Consistent classification helps readers navigate the site and makes the content calendar easier to manage.
With RankWorker, we can include keyword planning, content opportunities, clustering, article generation, SEO metadata, and scheduling in the same broader workflow. That reduces the need to copy details between separate planning documents and WordPress fields.
Step 4: Create a review gate before scheduling
Automation is most useful when it moves approved content through a process. It is risky when it publishes unfinished content without clear controls.
Use a review gate with at least three statuses:
- Planned: The topic and target keyword are approved.
- In review: The article is being checked for quality and SEO requirements.
- Scheduled: The article has passed review and is ready for publication.
You can add statuses such as Draft, Needs Revision, Approved, Published, and Needs Refresh if your team requires more visibility.
During review, check:
- Does the article answer the intended search query directly?
- Are the claims accurate and appropriately qualified?
- Is the article useful without relying on the product mention?
- Does the structure make the content easy to scan?
- Are examples clear and relevant to the audience?
- Are internal links natural and functional?
- Is the primary keyword used naturally rather than repeatedly?
- Does the article match the site’s voice and editorial standards?
A second person is helpful for important pages, but a solo founder can still create a review gate by separating writing from review. Take a break between drafting and checking, then use a fixed checklist rather than relying on memory.
Step 5: Standardize images and WordPress media
Images are part of the publishing workflow because they affect page presentation, comprehension, and the final WordPress setup.
For each article, decide in advance whether you need:
- A cover or featured image
- Supporting inline images
- Diagrams or process graphics
- Screenshots or interface illustrations
- Descriptive alt text
- A caption or credit, when applicable
The image should support the section where it appears. A process diagram can clarify a scheduling workflow, while a realistic editorial image may work better as a cover. Avoid adding decorative images that do not help the reader.
Before scheduling, verify that the media file is attached to the correct post, displays at the intended size, and has useful alt text. Also check whether the image format and compression are appropriate for your site.
Step 6: Choose a publishing cadence you can maintain
The best publishing schedule is one your team can sustain while protecting quality. Publishing more often is not automatically better if the process produces thin, repetitive, or poorly reviewed content.
Choose a cadence based on your available research, writing, editing, and review capacity. A smaller website might begin with one carefully prepared article per week. A larger team may publish more frequently if every post still receives appropriate planning and review.
Consistency matters because it creates a predictable operating rhythm. It also makes it easier to measure what is working. If publication dates change constantly, it becomes harder to distinguish content performance from scheduling problems.
Use a buffer whenever possible. If every article is created on the day it is meant to publish, one delay can disrupt the entire calendar. A queue of reviewed and scheduled posts gives you flexibility when priorities change.
Step 7: Schedule the post in WordPress
Once the article passes review, configure the WordPress post carefully.
Confirm these fields before selecting the schedule option:
- Post status: The post should be scheduled, not accidentally left as a private or unpublished draft.
- Publication date and time: Check the selected time zone and confirm the intended date.
- Author: Use the correct author profile and byline.
- Category and tags: Apply the approved editorial grouping.
- Featured image: Confirm the image is selected and visible in the preview.
- Slug: Check that the final URL is correct.
- SEO fields: Verify the title, meta description, and any relevant structured fields.
- Preview: Review the desktop and mobile presentation if your workflow supports it.
Scheduling tools can be useful here, but the quality of the result depends on the information passed into WordPress. A tool should not only move text into the editor. It should preserve the article’s structure and the publishing details that make the page complete.
Our WordPress integration and scheduling workflow are designed to reduce manual handoffs between content preparation and publication. With RankWorker, you can organize the content process, prepare relevant SEO fields and images, and move approved articles toward scheduled WordPress publishing without rebuilding the same information in multiple systems.
Step 8: Run a final publishing preflight
A preflight check is the last opportunity to catch problems before an article becomes public. Keep it short enough to use every time.
Content check
Read the introduction and conclusion. Make sure the article delivers what the title promises and ends with a useful next step rather than an unrelated pitch.
Formatting check
Look for broken headings, awkward spacing, missing lists, incorrect links, and formatting that did not transfer correctly into WordPress.
Media check
Confirm that the featured image and inline images load correctly. Check alt text, captions, placement, and mobile appearance.
SEO check
Verify the slug, primary keyword alignment, meta description, internal links, canonical settings, and any required schema or indexing settings.
Schedule check
Confirm the publication date, time, time zone, author, category, and post status. If multiple articles are scheduled, make sure no two posts were assigned the wrong slot.
Conversion check
If the article mentions a relevant solution, make sure the call to action matches the reader’s stage and does not interrupt the educational flow.
This checklist is especially important when using automatic blog publishing software. Automation should make the approved process faster, not make quality control invisible.
Step 9: Verify the live post after publication
Scheduling is not the end of the workflow. After the post publishes, open the live URL and check the page as a reader would see it.
Review the headline, images, headings, links, metadata, and mobile layout. Confirm that the page is publicly accessible and that the expected publication time was applied correctly.
If your site uses indexing tools or a search console workflow, follow your normal process for discovery and monitoring. Then record the publication date and any notes in the content calendar.
After enough time has passed to collect meaningful data, review whether the article is attracting the right impressions, clicks, engagement, and conversions. Use those observations to improve future topics and refresh older content when needed.
A practical automated workflow for WordPress SEO publishing
A repeatable workflow can look like this:
- Research keyword opportunities and identify the intended search intent.
- Group related topics into clusters.
- Add approved topics and target dates to the content calendar.
- Generate or draft the article from the approved plan.
- Prepare metadata, internal links, and relevant images.
- Review the content against the editorial checklist.
- Approve the article for scheduling.
- Send the article and publishing details to WordPress.
- Schedule the post for the selected date and time.
- Verify the live page after publication.
- Monitor performance and record improvements for the next cycle.
RankWorker fits this workflow when you want one system to support keyword planning, content opportunities, clustering, article generation, images, metadata, scheduling, and automated publishing. We help reduce repetitive coordination while keeping the approval and quality decisions with you.
For a broader implementation guide, learn how to automate WordPress blog posts from planning through publishing.
How to improve your schedule over time
Start with a simple process, then improve it using evidence. Track where delays occur and which checks catch real problems.
If articles often miss publication dates, your planning deadlines may be too close to the release date. If posts publish with formatting issues, improve the content transfer or preflight stage. If the calendar is full but organic performance is weak, revisit topic selection, search intent, content quality, and internal linking rather than simply publishing more.
You can also document a standard operating procedure for recurring tasks. Include naming conventions, approved categories, review responsibilities, image requirements, publishing settings, and post-publication checks. A documented process makes delegation easier and reduces dependence on one person remembering every step.
For websites increasing their publishing volume, learn how to scale WordPress SEO automation safely without sacrificing review, pacing, or relevance.
Conclusion
WordPress post scheduling becomes reliable when it is connected to a complete SEO publishing workflow. Plan topics in advance, define internal deadlines, prepare metadata and images, add a review gate, schedule approved posts carefully, and verify every page after publication.
The practical role of automation is to remove repetitive handoffs while preserving editorial control. With RankWorker, we can help you connect planning, article production, SEO preparation, scheduling, and WordPress publishing so your content calendar is easier to maintain.